
How to use Airdrop on Apple Devices
Airdrop has become one of the trending features in the past year. This Apple-made feature is so favored because it has many benefits for everyday life. This feature can be used to transfer files between Apple devices such as iPhone, MacBook to iPad easily and quickly.
Airdrop can already be found on Apple devices with iOS 7, iPadOS 13, OS X 10 to newer systems. How to use this feature is also quite easy and fast. Unfortunately, there are still many Apple device users who do not fully understand how to use Airdrop.
The following Carisinyal team presents some important points about the Airdrop feature including how to use it.
How Airdrops Work
Basically, how Airdrop works is similar to the Bluetooth feature. According to the Lifewire page, the Airdrop feature works by using Bluetooth to create a small Wi-Fi network between Apple devices. Therefore, to use Airdrop, you must turn on the device's Bluetooth and Wi-Fi. So, you don't need to use the internet or a router when running the Airdrop feature.
Later, each device that will send and receive will create a security wall around the connection and files will be sent securely and quickly. So, you need your Apple ID for security.
Therefore, Airdrop is faster in sending files than NFC or Bluetooth. Not surprisingly, many Apple users rather to use the Airdrop feature to send large files.
Not only to send photos, you can also send text, images, song playlists, locations on maps and many others through Airdrop. These files can also be sent between Apple operating systems or between Apple devices with the same system.
How to enable Airdrop
Before sending files using the Airdrop feature, you must ensure that this feature is already active or on. So, here's how to enable Airdrop on various Apple devices.
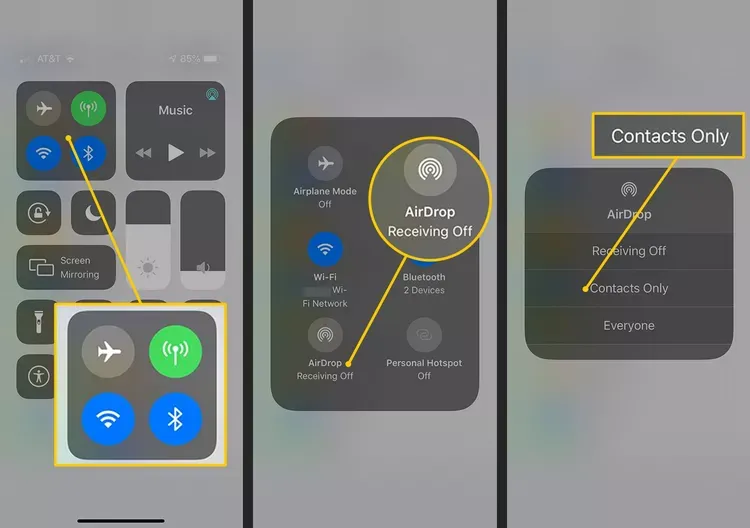
Enable Airdrop on iPhone and iPad
- Open the home view.

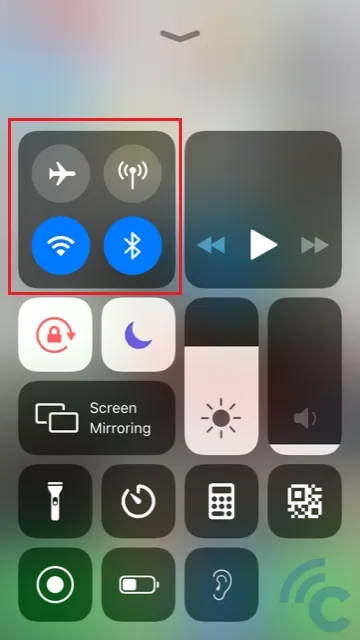
- To open the control center, swipe up from the bottom of the screen.
- Press and hold the group of toggles located at the top left corner, which includes the icons for airplane mode, Wi-Fi, mobile data, and Bluetooth.
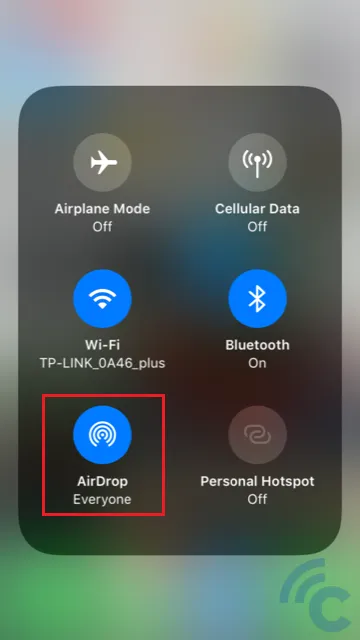
- Tap the Airdrop icon.
- Select "Contact only" to share files with people in your contacts, or "Everyone".
- Make sure WiFi and Bluetooth are activated.
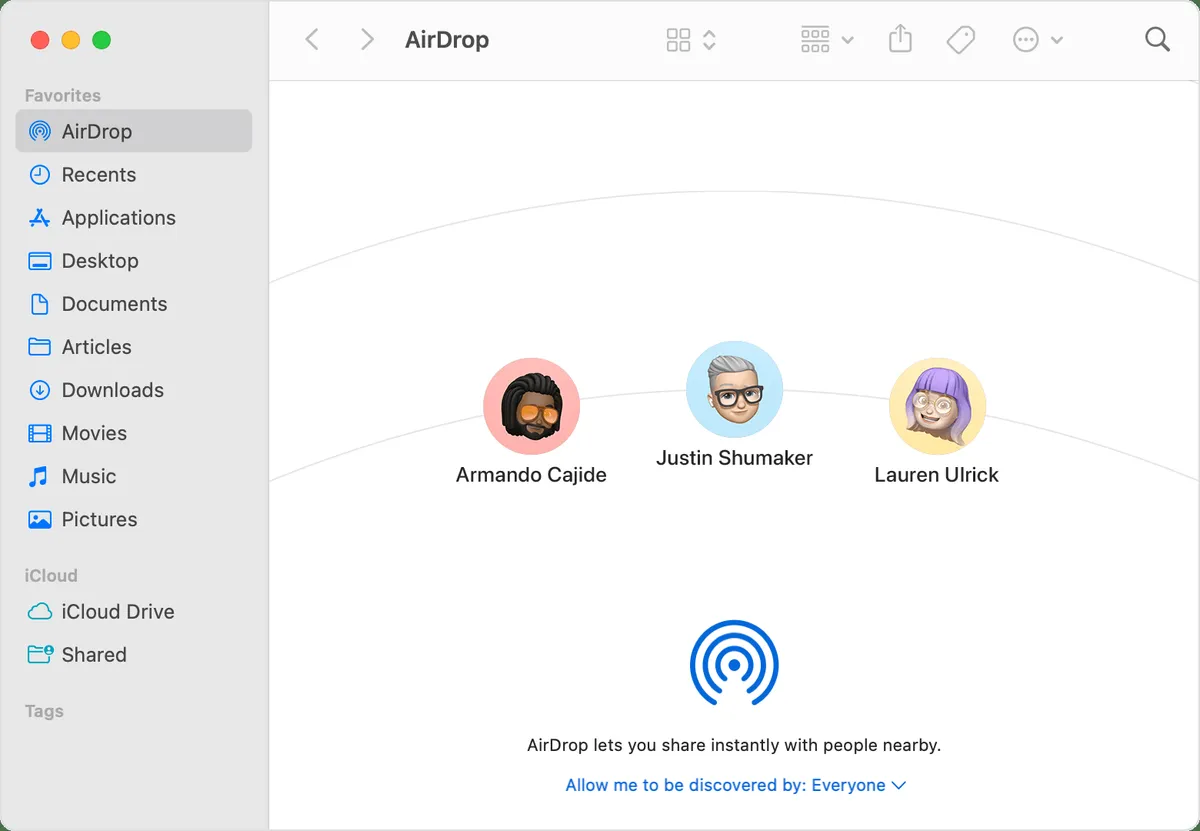
Enabling Airdrop on Macbook
- Open the Finder app.
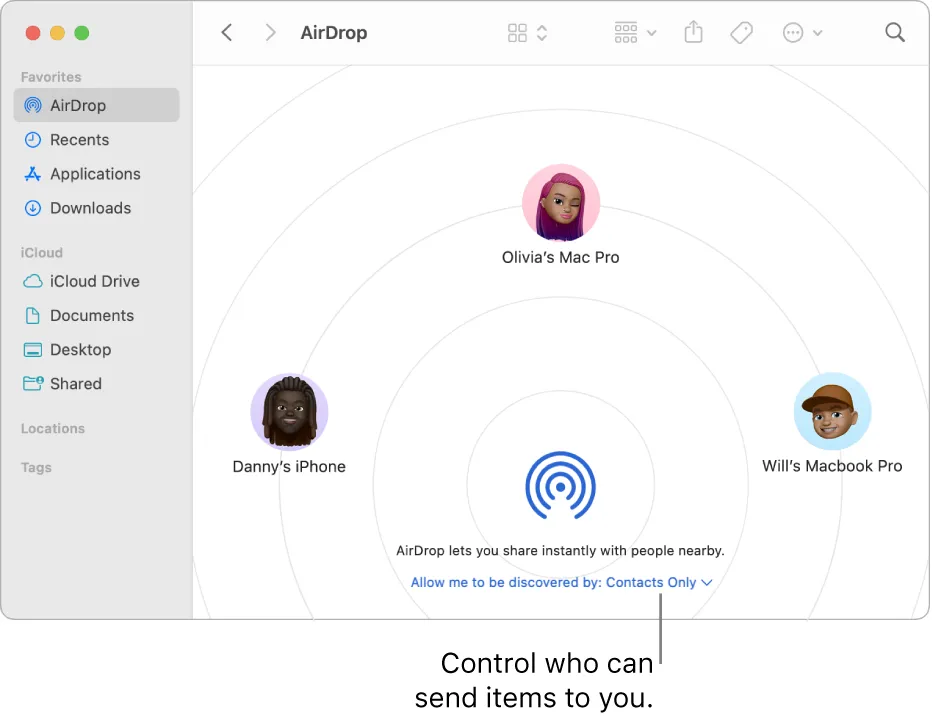
- Select the "Airdrop" menu
- In the "Allow me to discover by" section, you can select settings to receive or send files from saved contacts or all detected Apple devices.
After clicking the "Airdrop" option on either your iPhone, iPad or MacBook, you as a user can choose to disable reception. If this happens, Apple devices will not be detected and receive file submissions from other Airdrop devices.
Apart from the above method, it turns out that there is still an easy way to enable Airdrop on iPhone and iPad. Apparently, you can activate this feature through the control center. The trick is to swipe the top end of the screen down. When the control center appears, you just need to select the 'Airdrop' option.
How to Change Airdrop Name
The Airdrop name is one way to identify the surrounding devices that will receive files sent from other devices. By default, the Airdrop name will match the name of the Apple device being used. In addition to the device name, some also appear with the addition of Apple ID initials.
While the default name in the initial settings might not be very engaging, the good news is that the Airdrop name can be personalized to better represent you. Check out a little discussion on how to change the Airdrop name below.
How to Rename Airdrops on iPhone and iPad
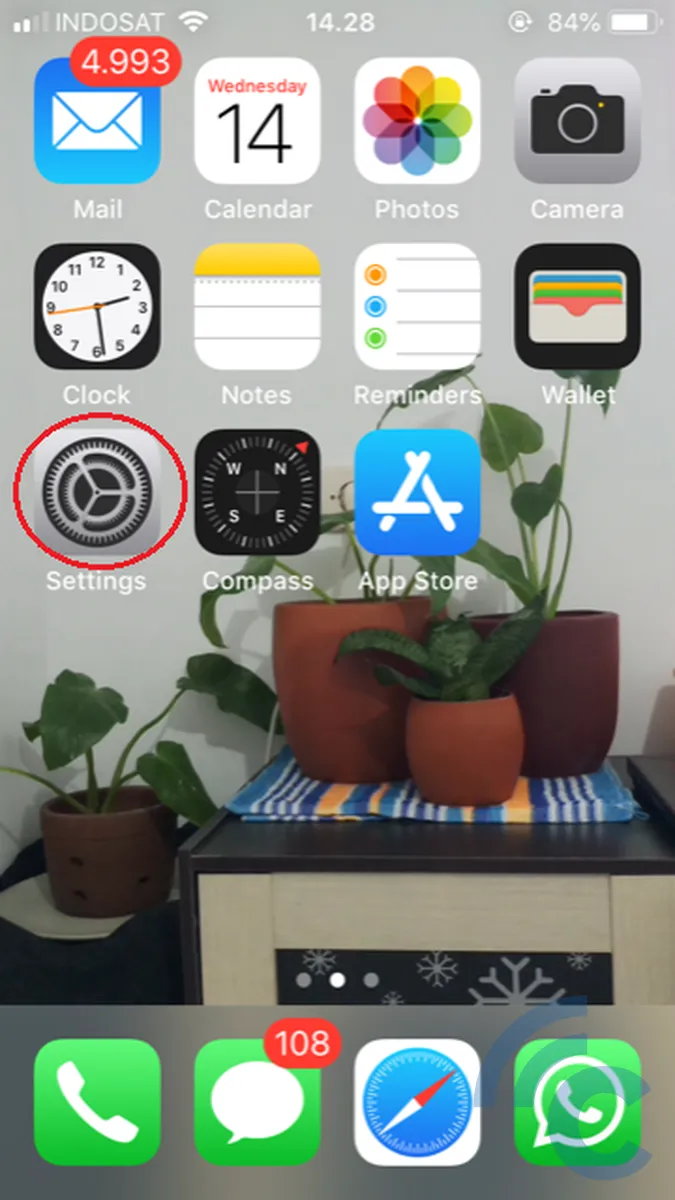
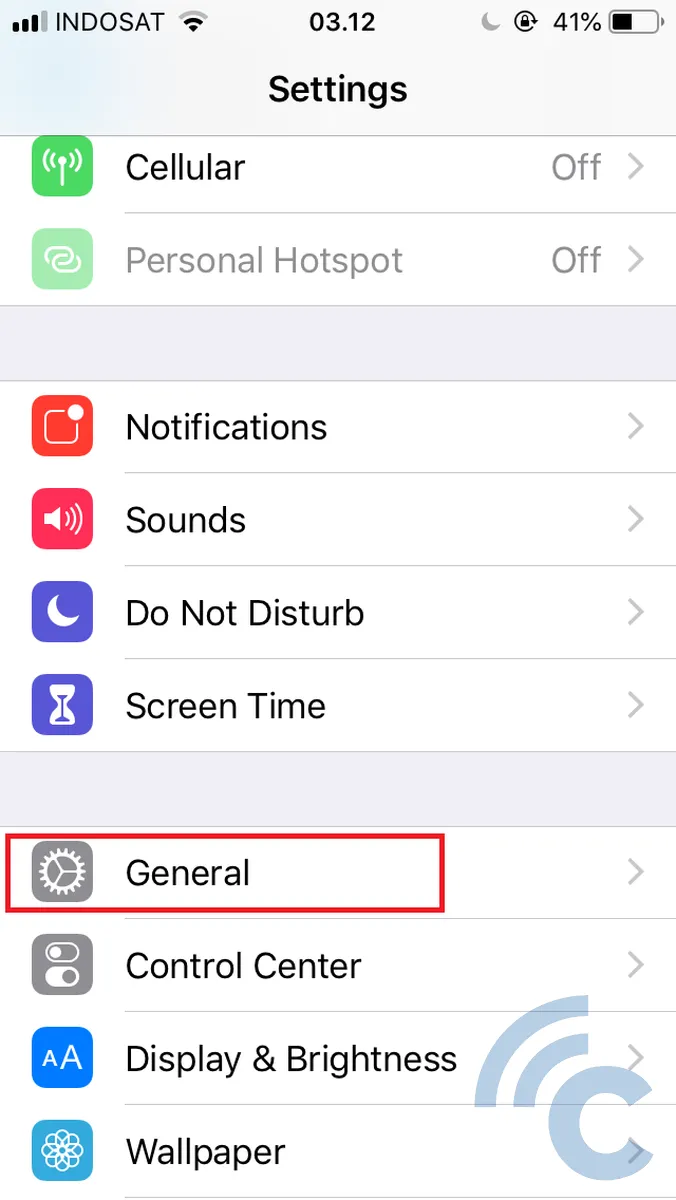
- Open "Settings", then go to "General".
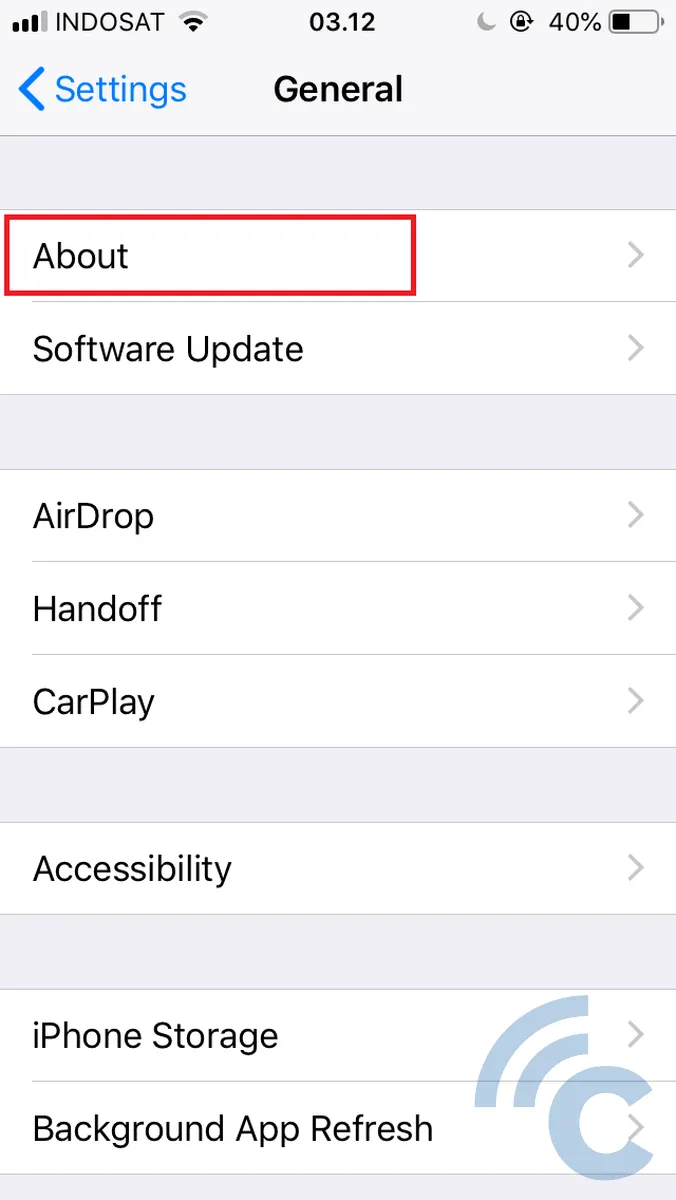
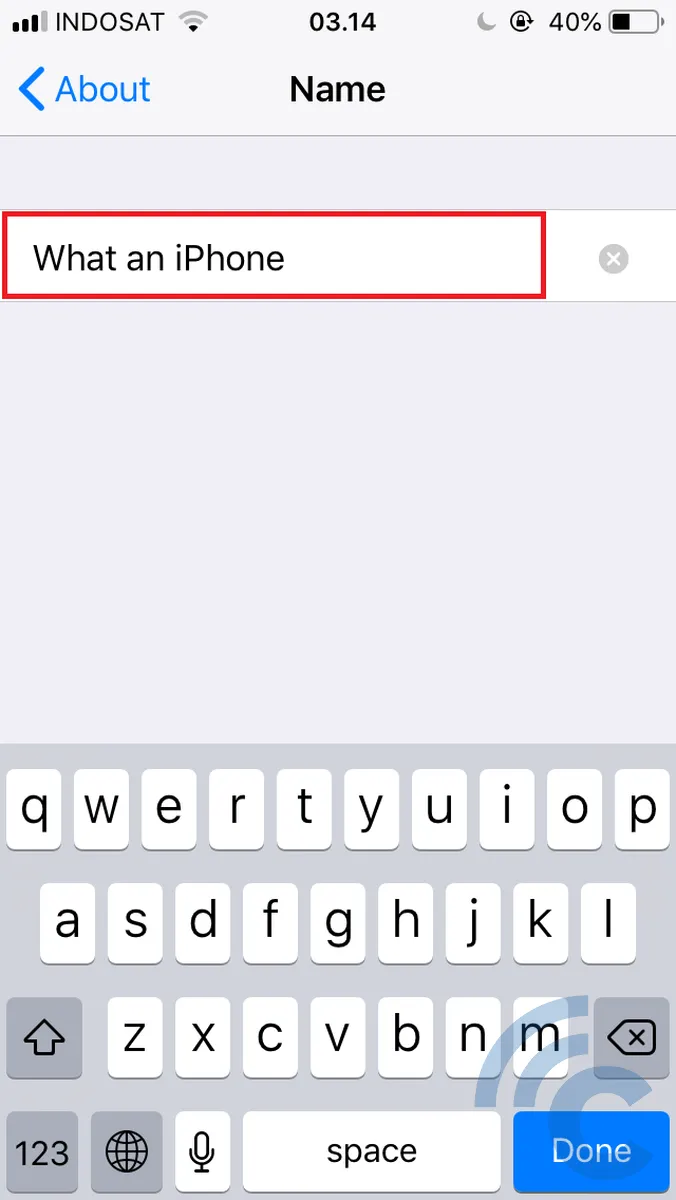
- Select "About", then go to "Name".
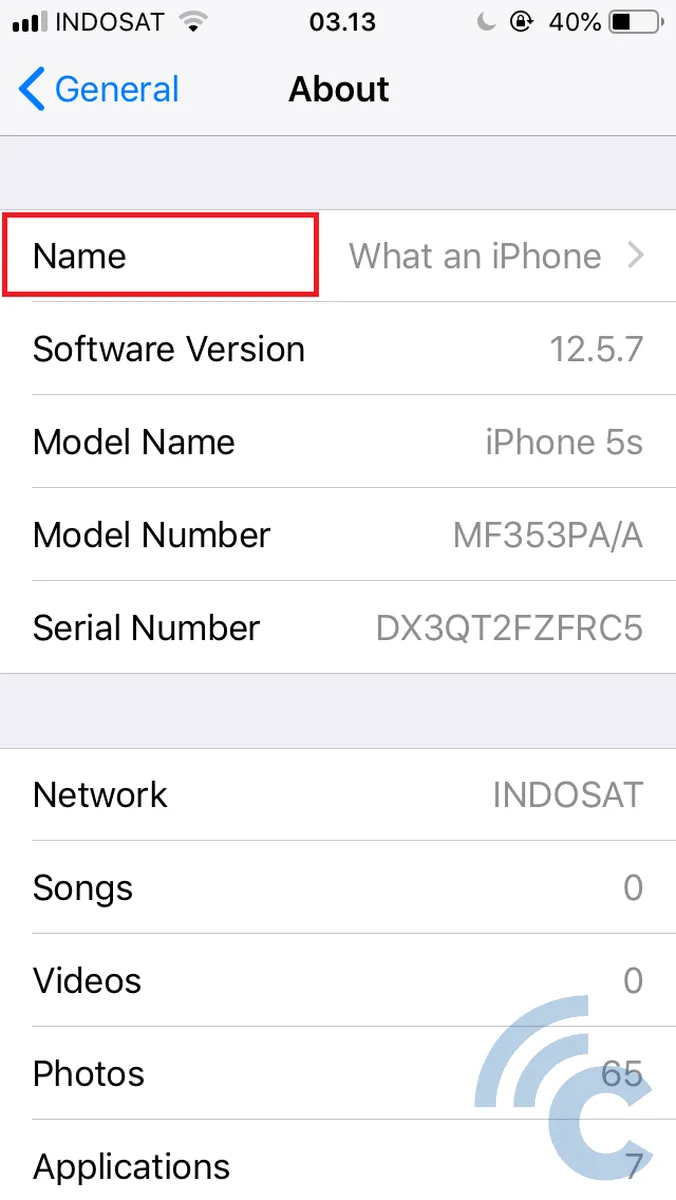
- Type the name as desired, then exit.
How to Rename Airdrop on Macbook
- Clicking on the Apple icon located on the Macbook Home screen.
- From the drop-down menu, select "System Preferences".
- In the System Preferences window, locate and click the "Sharing" option.
- Within the Sharing settings, find the field labeled 'Computer Name'. This will currently display your MacBook's Airdrop name. To alter this name, just overwrite the existing name with your preferred new one.
Please note that the above method is applicable for newer Apple operating systems. For older versions, the process of renaming Airdrop may differ slightly.
How to use Airdrop
Now that you've personalized the Airdrop name to your preference, you're set to use it for file sharing. Here are the steps to send files through Airdrop.
Transferring Files using AirDrop on iPhone and iPad
- Ensure that your Apple device has Bluetooth, Wi-Fi, and Airdrop connections activated.
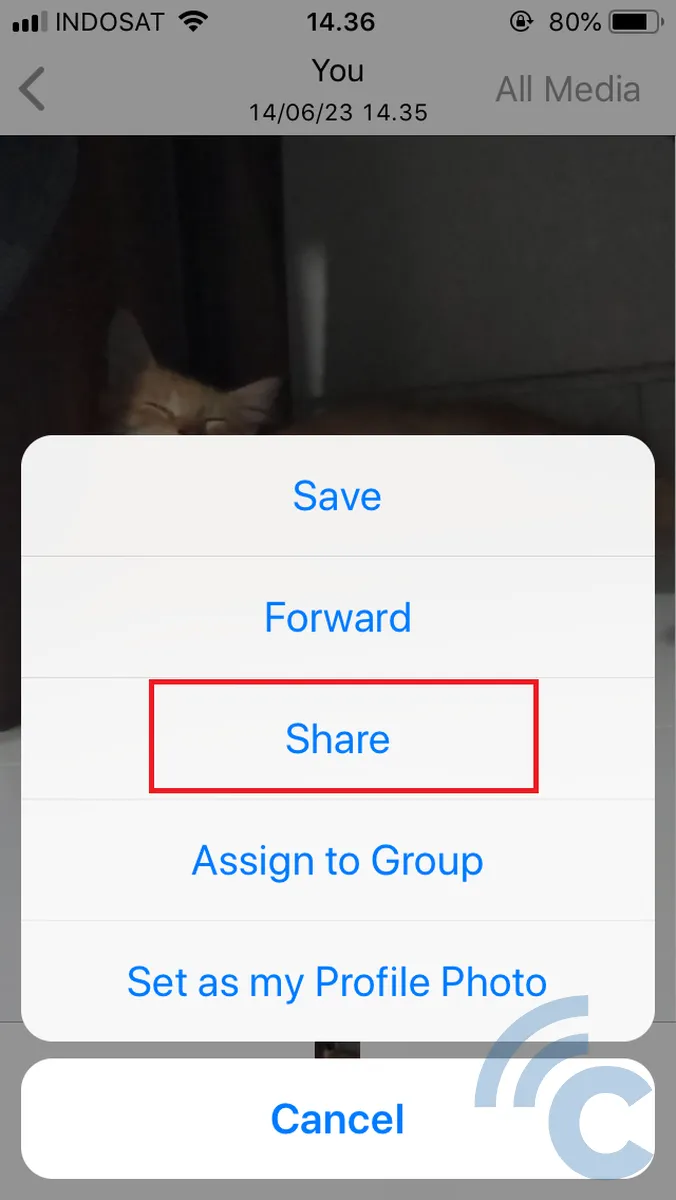
- Then, select the files you want to send to another Apple device.


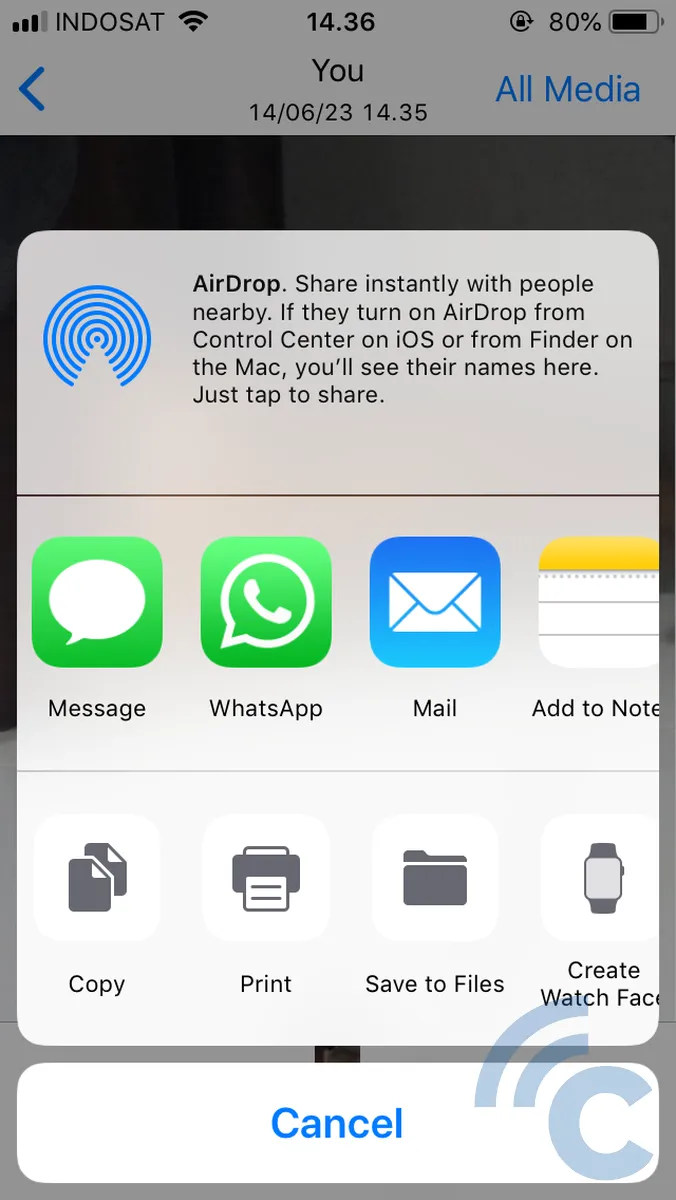
- Click on the file sharing menu and select the "Airdrop" menu.
- Then, you can select a nearby Apple device to send to. Tap the device name and the sending process will take place.
- Wait for the file to finish sharing.
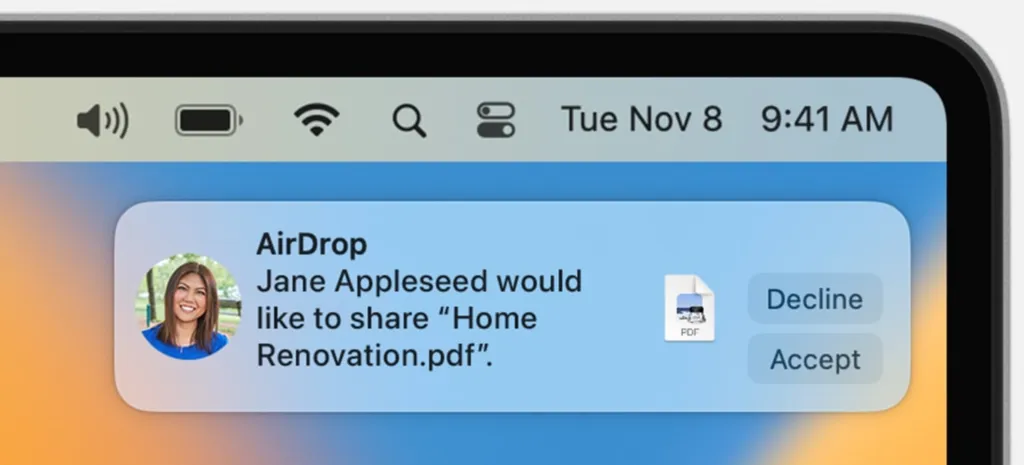
- Shortly after the file is sent, the recipient will get a notification with a preview of the shared file. Now, the recipient has the option to accept or decline.
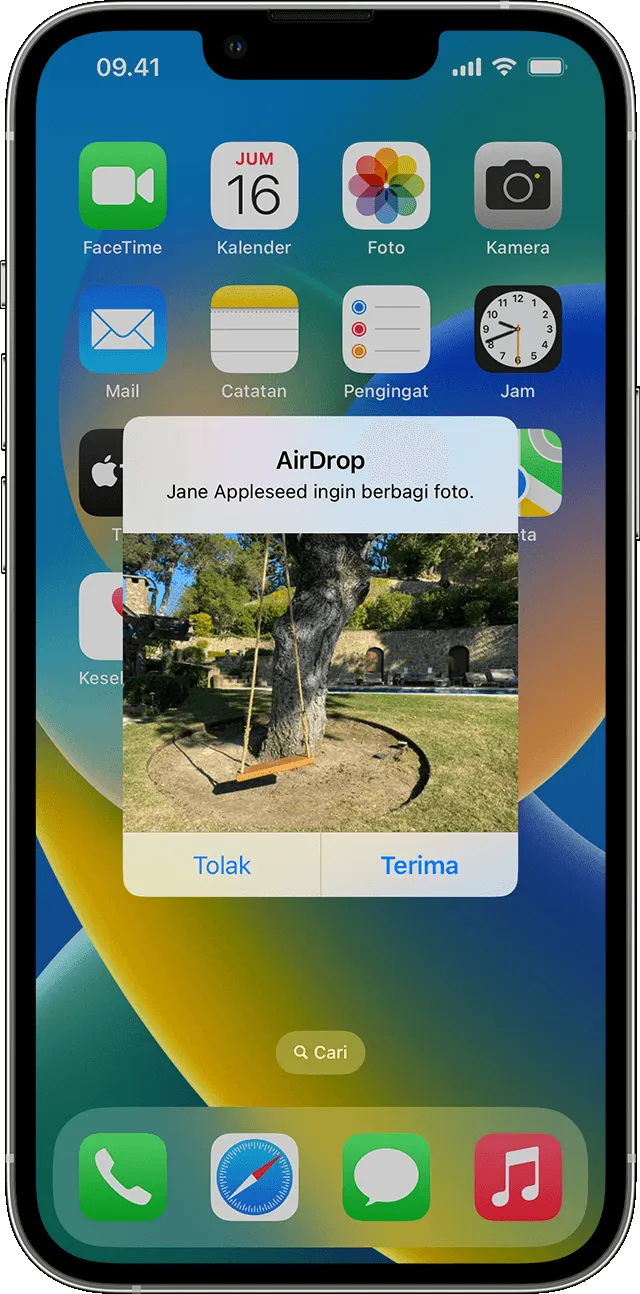
- If the recipient accepts the file sent via Airdrop, it will be received through the same application used by the sender. For instance, photos will appear in the photo application, and web links will directly open in Safari.
It's important to note that if you own multiple Apple devices with the same Apple ID, such as an iPhone and a Mac, Airdrop transmissions between these devices will be automatically accepted. The option to accept or decline doesn't appear when the Apple IDs of both devices are identical.
Furthermore, if both your and the recipient's devices are iPhone 11 or newer, you can just aim your iPhone at the recipient's device. This action prioritizes the recipient's device in the Airdrop file transmission process.
Transferring Files using AirDrop on Macbook
- Open the file you want to send.
- Click the "Share" button in the application window. For files in the Finder, you can also Control-click the file, then select "Share" from the shortcut menu.
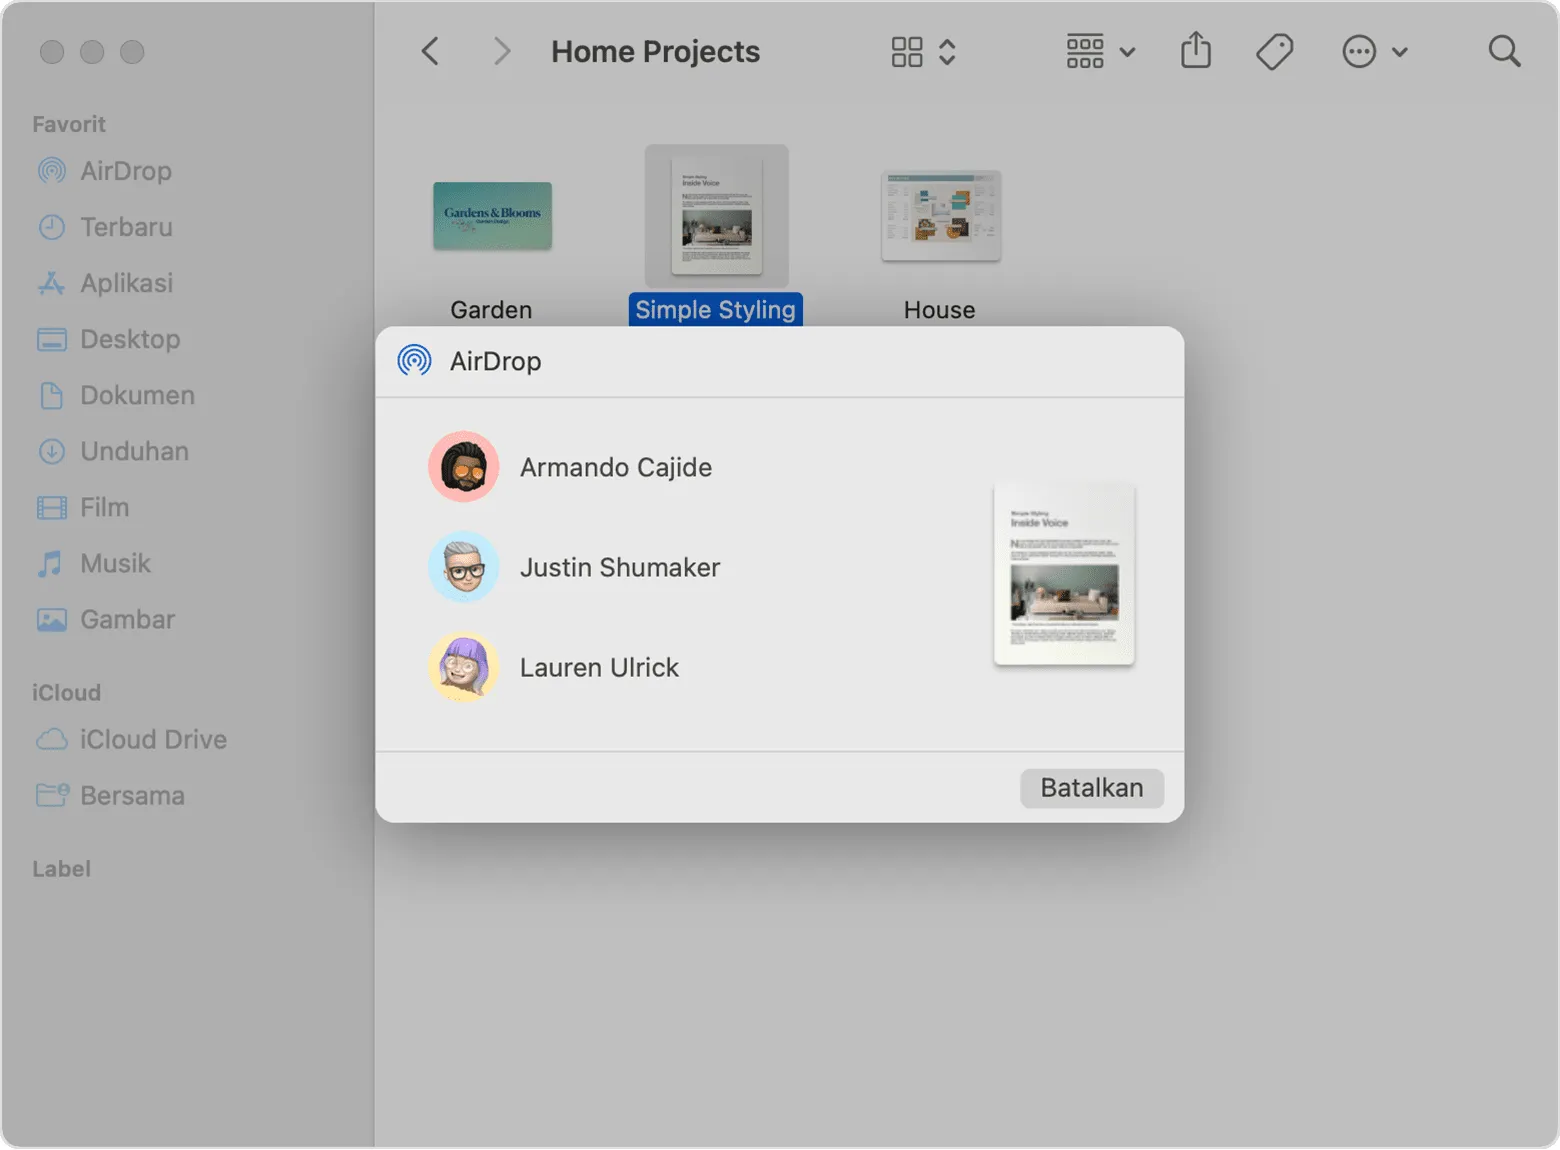
- Select AirDrop from the sharing options listed.
- Select a recipient from the Airdrop sheet.
- Wait for the file to finish sending.
- Shortly after sending the file, the recipient will get a notification to accept or decline.
- Click "Accept" if you want the file.
If you're having trouble with the message reception options crashing, there's no need to panic. Simply go to settings and select "Screen duration".
Then, select "content restrictions and privacy". Tap on "allowed app options". In this section, you can search for Airdrop and make sure it's on.
How to turn off Airdrop
Turning off Airdrop after you've finished sending files is fairly straightforward and closely mirrors the activation process. Here's how to do it.
- Enter the control center.
- On iPhone and iPad, the control center can be accessed by swiping the screen from bottom to top.
- While opening the MacBook control center can be done by clicking the control center button in the menu bar.
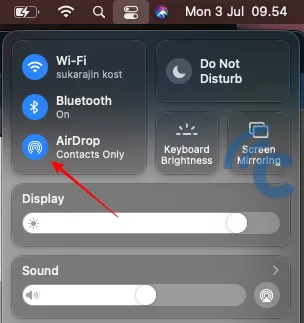
- For iPhone and iPad, press and hold the WiFi et al toggle group at the top left. The process is identical for a MacBook, with the toggles located in the same position.
- Next, tap on the Airdrop icon.
- Select "Receiving Off" on either iPhone, iPad, or Macbook. Done.
That's a brief guide on how to use Airdrop. Hopefully, it helps you to get the most out of your Apple device.