
3 Ways to Create Lines in Microsoft Word
Microsoft Word is a highly popular word processing program, known for its comprehensive features. It simplifies the process of creating professional-looking documents for its users.
One common design element in documents is lines. Lines are useful for separating sections of text, enhancing visual appeal, or highlighting important points. In this guide, Carisinyal will show you how to create lines in Word using three methods: auto format, horizontal line, and shapes.
Using Auto Format
One of the simplest methods to create lines in Microsoft Word is through auto format. This method allows you to quickly generate various types of lines using just a few keystrokes. Here's how:
1. Create a Straight Line

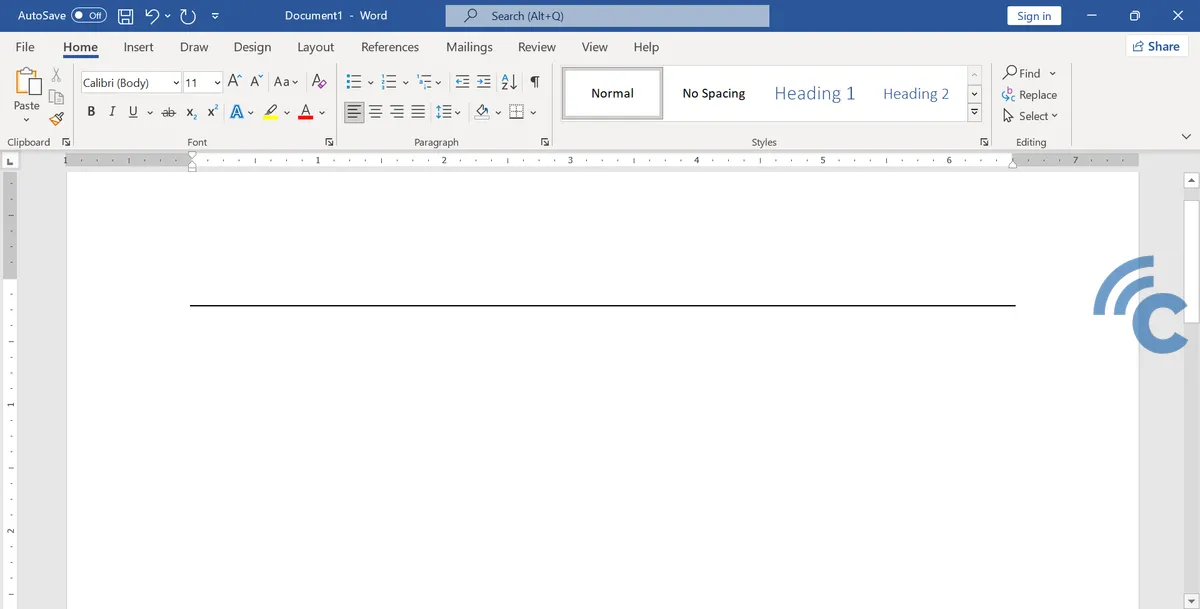
To make a straight line, type the "-" symbol three times on your Word document. Then, hit "Enter." A neat straight line will appear.
2. Create Two Thick Lines


For two thick straight lines, press the "=" symbol three times on your keyboard. After pressing "Enter," two thicker straight lines will appear.
3. Create One Thick Line


To form one thick straight line, simply type the "_" symbol three times. Follow this by pressing "Enter."
4. Create a Dotted Line


A dotted line can be made by typing "*" three times. Then, press "Enter" to create the line.
5. Create Three Lines
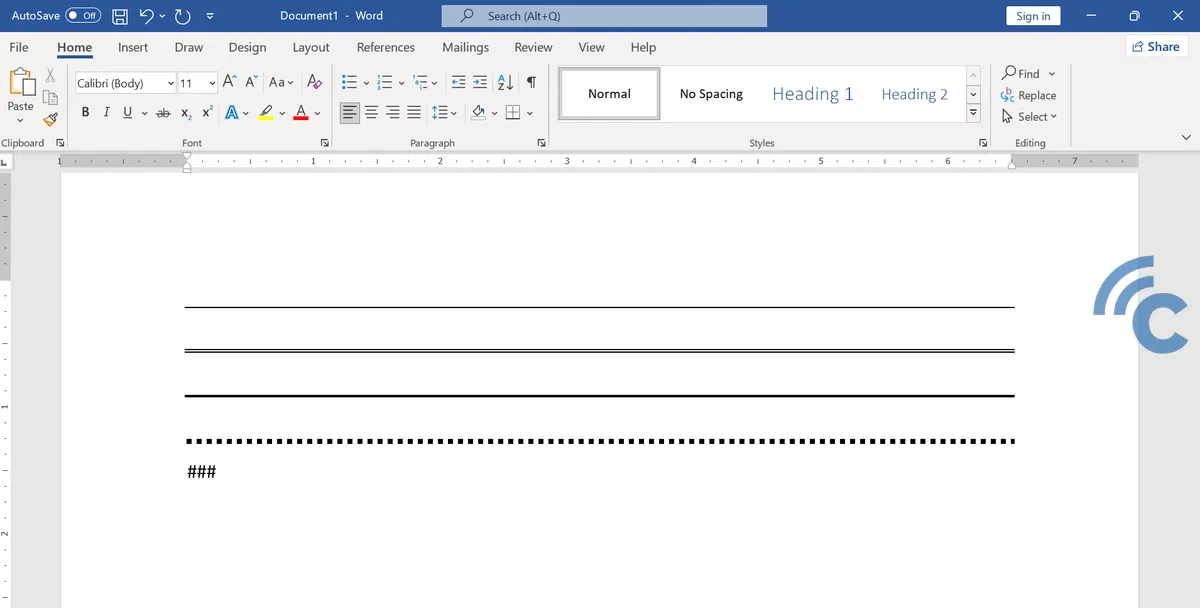
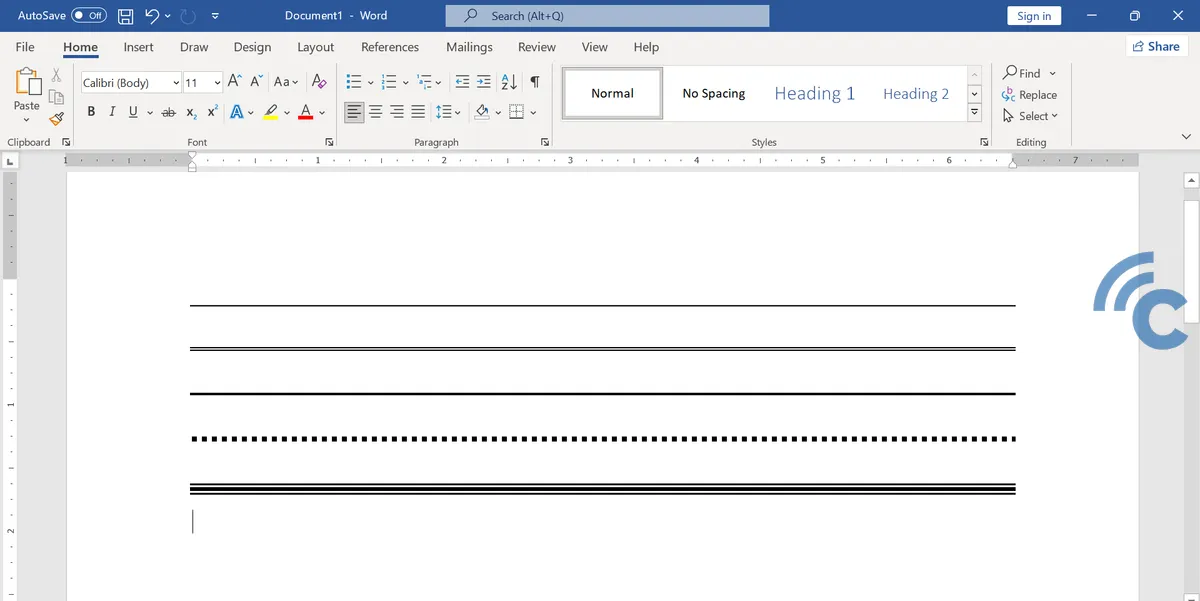
To produce a set of three lines where the middle one is thick and the outer ones are thin, press the "#" key three times and then press "Enter."
6. Create a Wavy Line

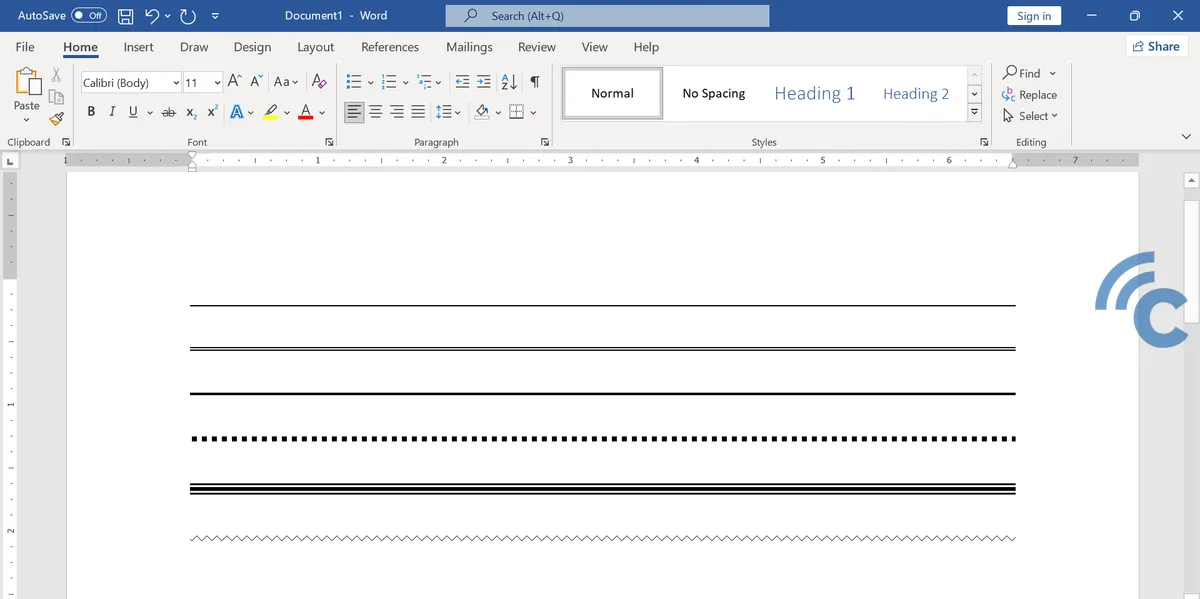
For a wavy line, type the "~" key three times and conclude by pressing "Enter."
Using this auto format feature in Word, you can quickly create a variety of lines to suit your document's needs.
Using Horizontal Line
You can add lines in your Word document by using the horizontal line feature. Here's how to do it:
1. Position the Cursor
Start by opening your Word document and placing the cursor at the spot where you want the line to appear.
2. Insert Horizontal Line
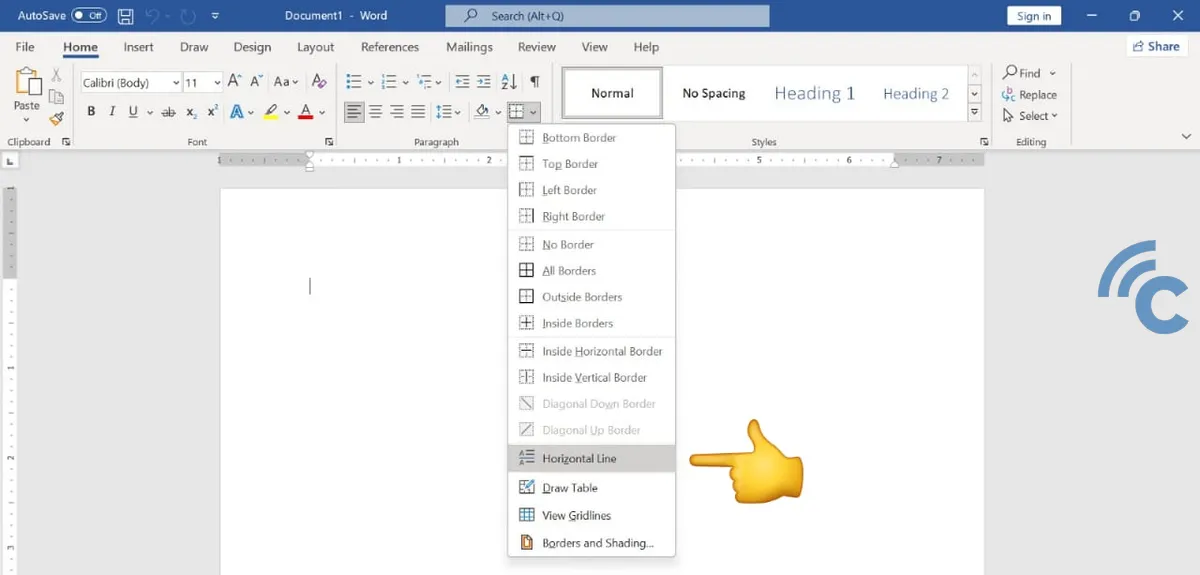
Go to the "Home" tab, find "Borders" in the "Paragraph" group, and select "Horizontal Line" from the dropdown menu.
3. Customize the Line
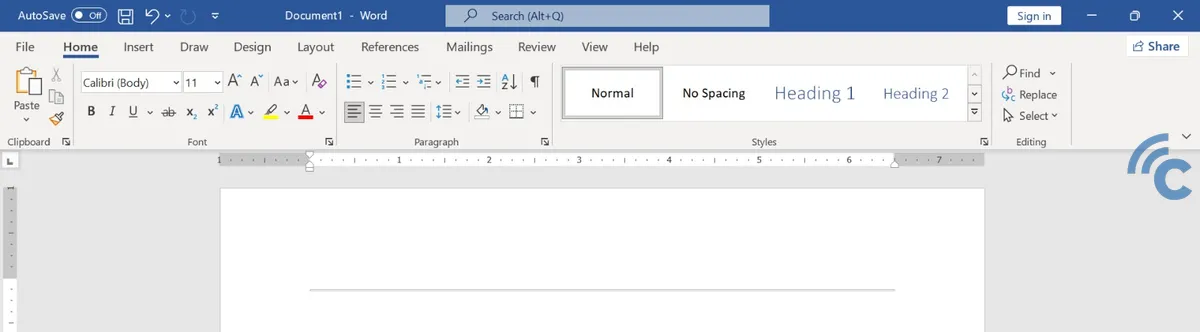
After the line appears, you can modify it by double-clicking on it. This will bring up options to alter the line's style, thickness, and color.
Using horizontal lines is ideal for creating separations between sections or adding breaks between paragraphs.
Using Shapes
For more creative control, use the shapes feature to make lines:
1. Select Shapes
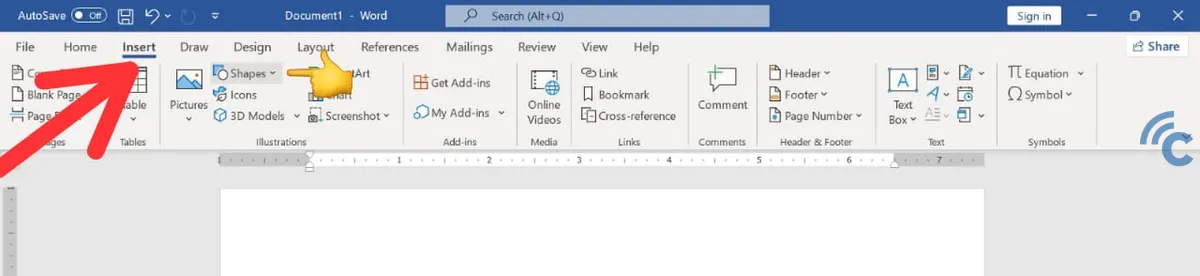
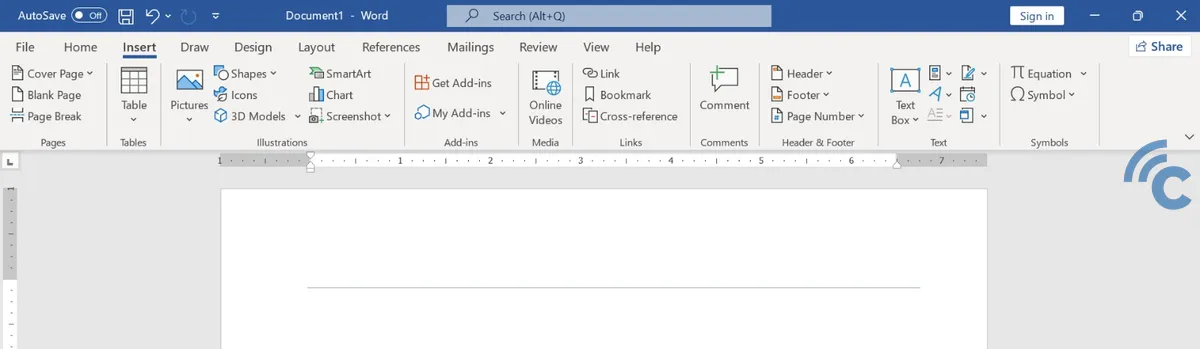
Open a Word document, head to the "Insert" tab, and click on "Shapes." You'll see a variety of shapes, including lines.
2. Draw a Line
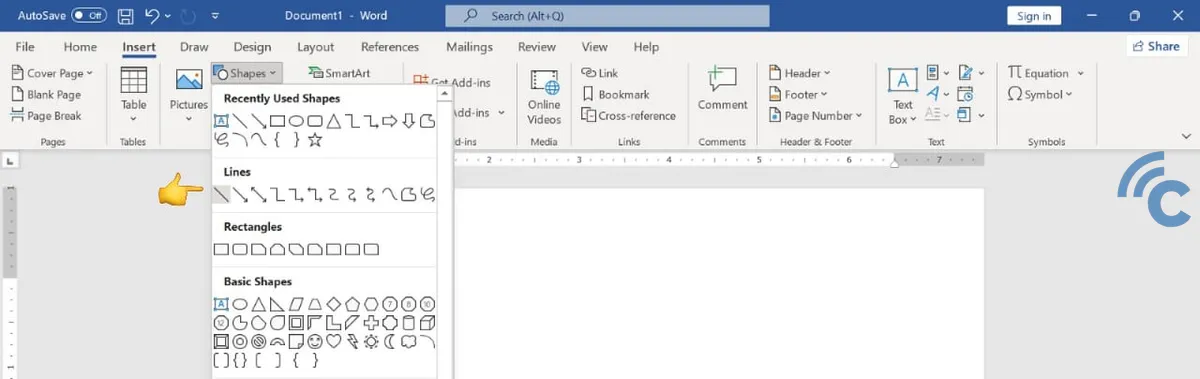
Choose the "Lines" option (symbolized by a straight line). Then, click and drag in your document to draw the line. Hold the "Shift" key while drawing for a perfectly straight line.
3. Customize the Lines
After drawing, you can adjust the line's thickness, color, and style using the Format tab that appears when you select the line. The shapes option gives you the freedom to create unique lines, such as crooked or specially shaped lines.
Adding lines to your Word document is simple with auto format, horizontal line, and shapes features. Each method provides different levels of ease and customization.
Auto format is the quickest method, though it requires memorizing specific keys. The horizontal line is great for simplicity, while shapes offer extensive customization options.
By following these steps, you can effectively enhance your Word documents, making them more visually appealing and well-organized.