
How to Show the Ruler in Microsoft Word
When working with Microsoft Word, having precise control over your document's layout and formatting is helpful. The ruler in Microsoft Word is a valuable tool for making sure your text and other elements are aligned and neatly arranged.
The ruler enables users to measure and set the spacing for paragraphs, tabs, margins, and more with accuracy. However, some users, especially beginners, may struggle to find and activate the ruler.
In this guide, Carisinyal will explain in detail how to display the ruler in Word and how to adjust the measurement units on the ruler.
How to Show the Ruler
Generally, the ruler automatically shows up in the Word workspace. But sometimes, it might be hidden, and you'll need to enable it manually. Here's how to display the ruler:
- Open a Word Document: Start by opening the Microsoft Word document you're working on.
- Go to the View Tab: At the top of your Word window, you'll find the "View" tab. Click on it.

- Enable Ruler: Look for the "Show" group within this tab. Here, you will see an option labeled "Ruler." Check the box next to it. Once you do this, rulers will appear both at the top and on the left side of your document window.
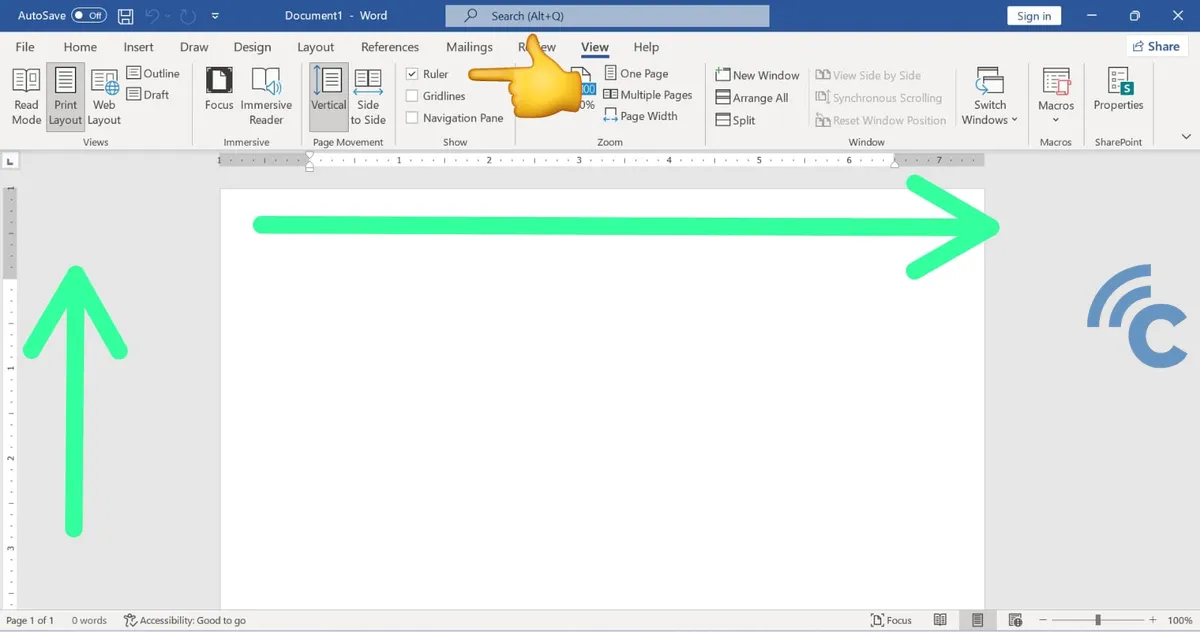
The horizontal ruler appears at the top of your document, while the vertical ruler is found on the left. These rulers are incredibly useful for organizing your document’s layout. You can use them to adjust margins, set paragraph indents, and position tabs
How to Change the Ruler's Unit of Measure in Word
If you're working in Word, you might find it helpful to change the ruler's unit of measure to better suit your preferences or the specific requirements of your document. Here's how you can modify it on the ruler in Word:
1. Open Options
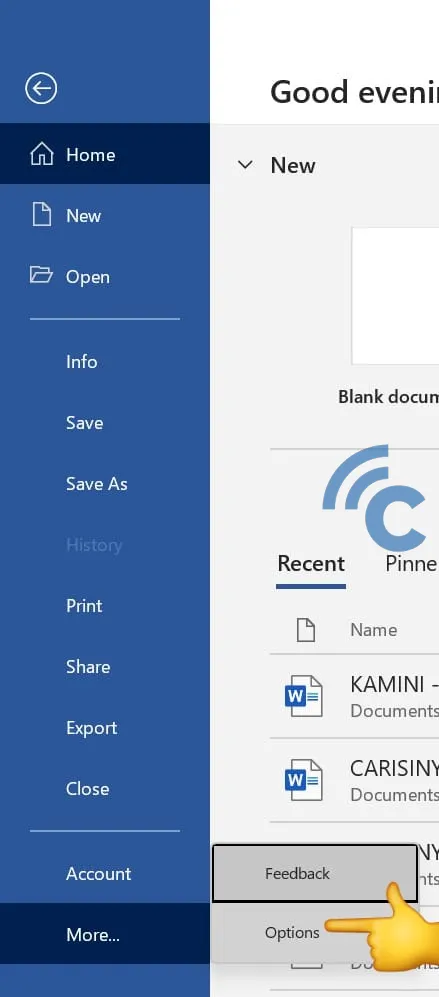
First, click on "File" located at the top left corner of your screen. Then select "More..." followed by clicking on "Options." This will open the Word Options window. In this window, click on "Advanced" found on the left side. Scroll down until you reach the section labeled "Display."
2. Change the Unit of Measurement
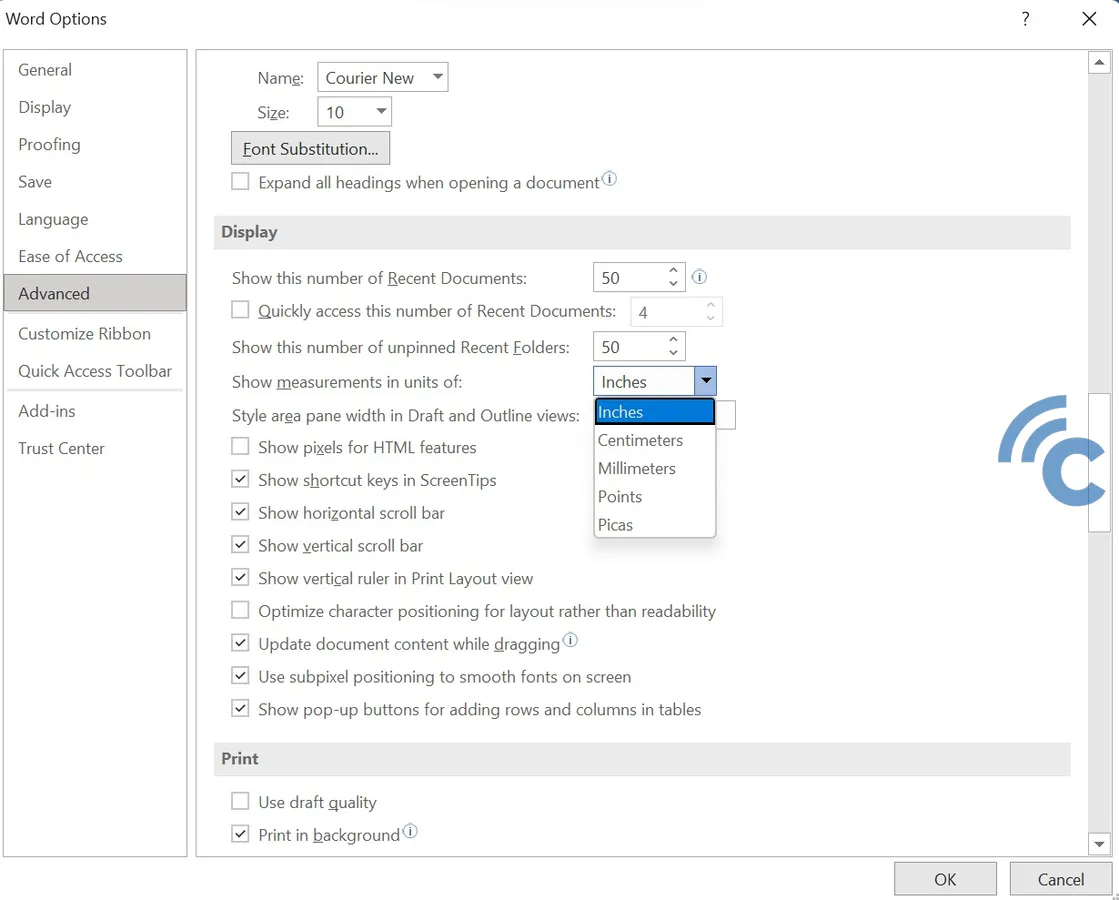
Within the "Display" section, look for the option that reads "Show measurements in units of." Click on this and select your preferred measurement unit from the dropdown menu. The options available include centimetres, inches, millimetres, and others.
3. Save Changes
Once you've chosen the unit you prefer, click "OK" to save the changes you've made.
Adjusting the measurement unit on the ruler can make it easier to tailor your document according to a measurement system you're more comfortable with, or to meet the standards required for a specific project.
Using the ruler in Word is a valuable tool for efficiently organizing and fine-tuning your document's layout, from setting margins to placing objects. This helps ensure your final document looks professional and tidy.
By knowing how to display and adjust the ruler, and how to change its measurement unit, you'll be more capable of managing your Word documents to meet your specific needs.