
How to Split Your Laptop Screen into Two Sections
Laptop and Windows PC users often encounter scenarios where multitasking becomes necessary, requiring several applications to be open simultaneously. In response to this need, a feature known as split screen has been introduced.
This split screen function is particularly beneficial for users with wide-screen laptops or PCs, as it enhances productivity by maximizing the monitor's display area. If you're unfamiliar with activating screen multitasking and dividing the window into two sections, this tutorial will guide you through the process.
Windows 7 and 10
For laptops running Windows 7 and 10, you have two main methods to divide your screen into two sections: using the cursor or keyboard shortcuts.
1. Using the Cursor
This method involves the use of a cursor, which you can control with a mouse or touchpad. Here's how to do it:
- Start by opening the application or program you want to pin to the screen.
- Move the cursor to the top bar of the application window, near the minimize and close buttons.
- Click and hold using your mouse or touchpad.
- Drag the application window to the right or left side of the screen until it occupies half of the display area.
For Windows 7, repeat the process with another application to have them side by side.
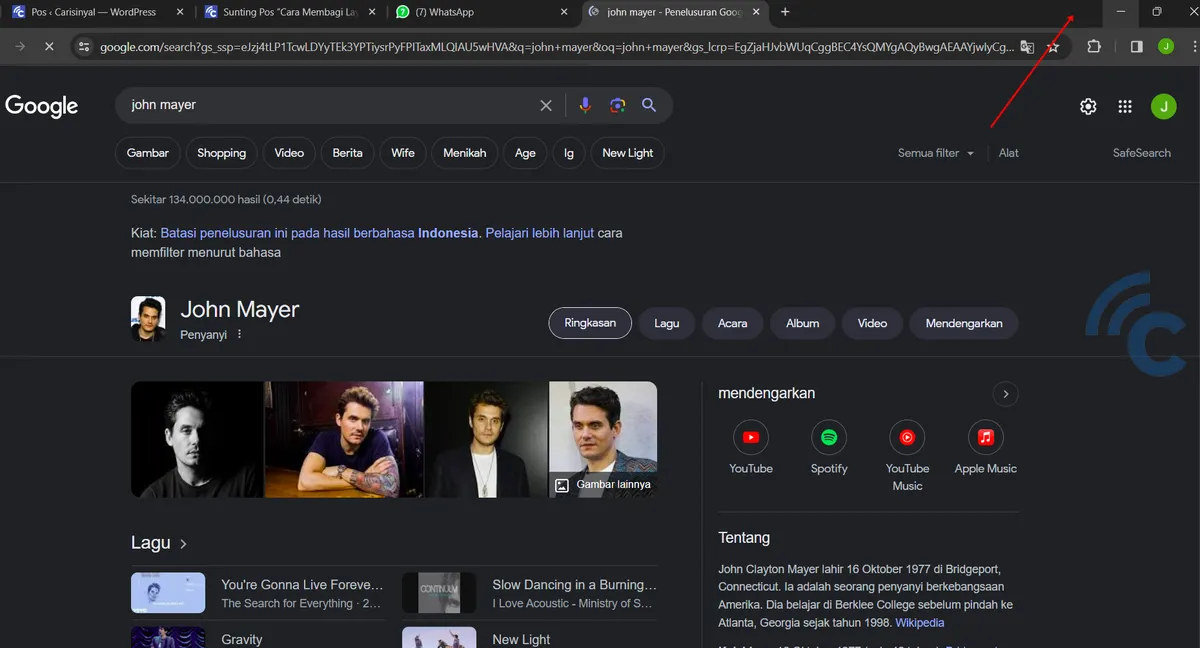
In Windows 10, the Snap Assist feature enhances this process. When you drag the first application to one side, thumbnails of other open applications will appear. Simply select and click on the second application you wish to display.
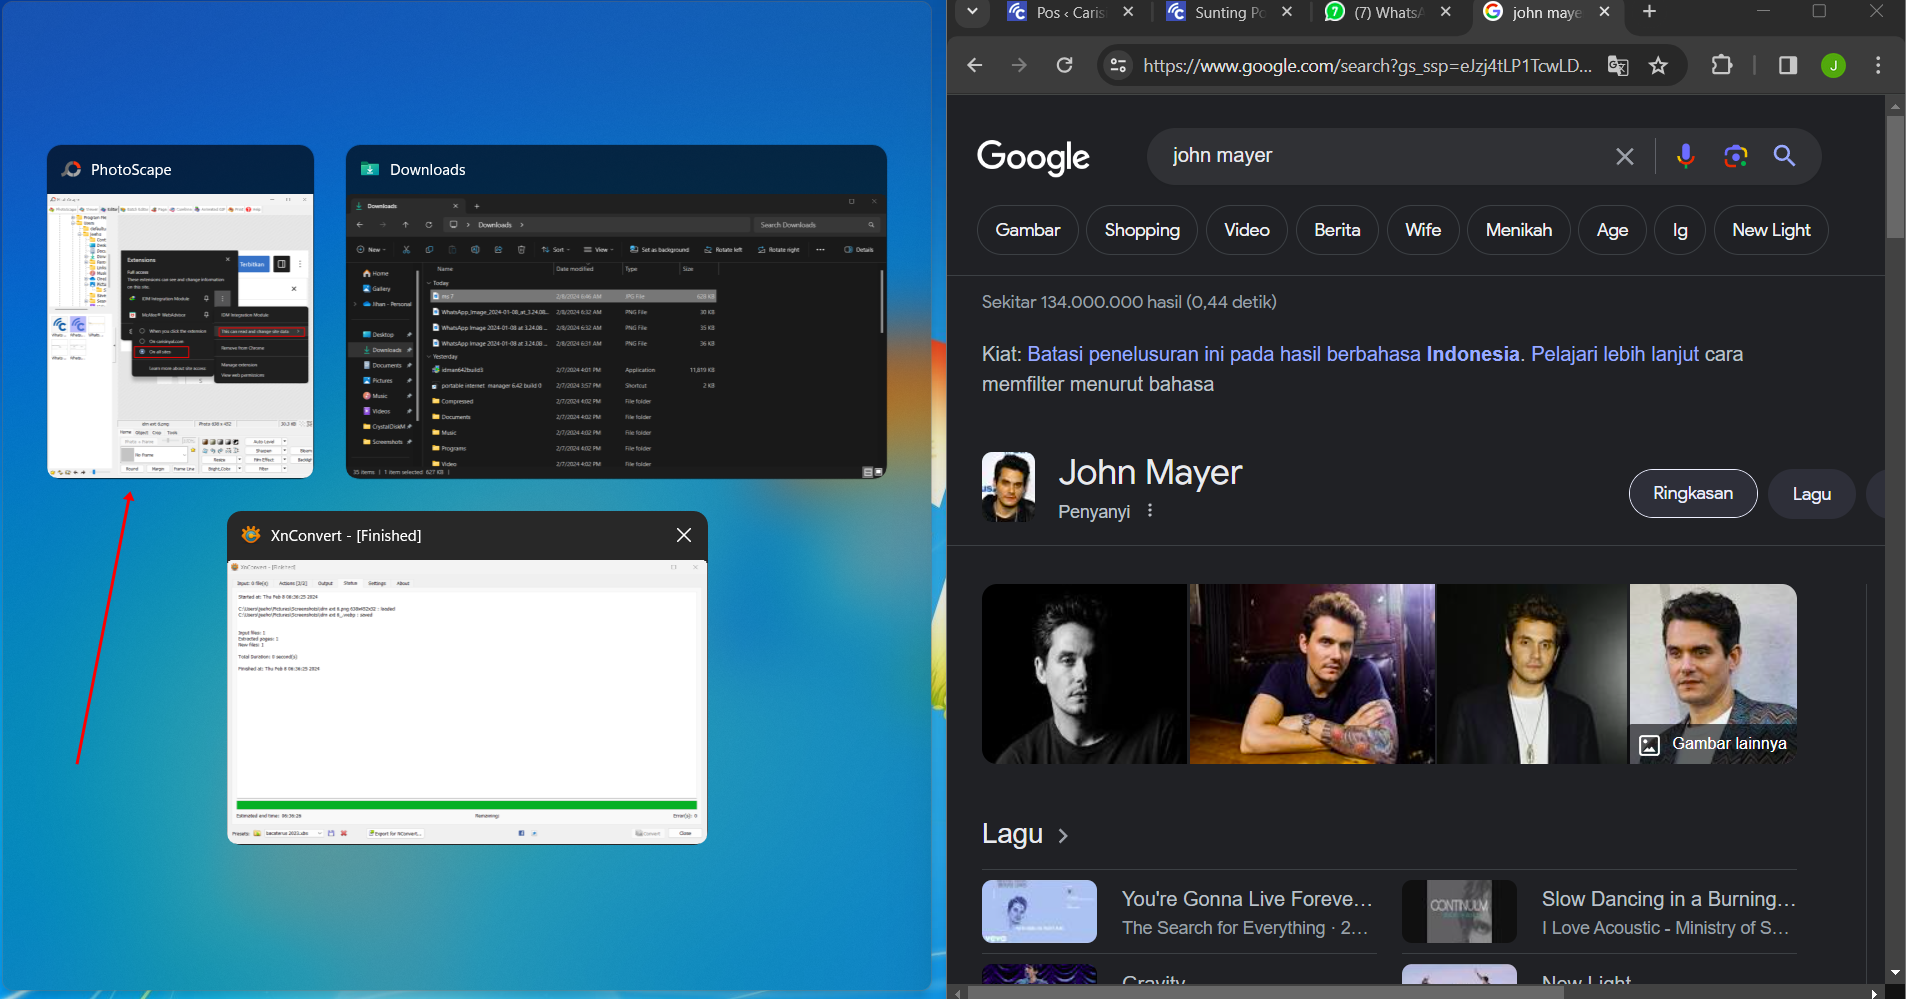
This action will place the two applications side by side, allowing you to view and work on both simultaneously. Moreover, Windows 10 allows you to add two more applications, enabling a four-way split screen, although each section will be smaller.
2. Using Keyboard Shortcuts
Besides using the cursor, splitting your laptop screen can also be achieved with Windows keyboard shortcuts, a method especially useful in Windows 10. Here are the steps to follow:
- Begin by opening two or more applications or programs that you wish to use.
- Focus on the first application and simultaneously press the Windows key and either the left or right arrow key on your keyboard. For instance, if you press the left arrow, the app will move to the left side.
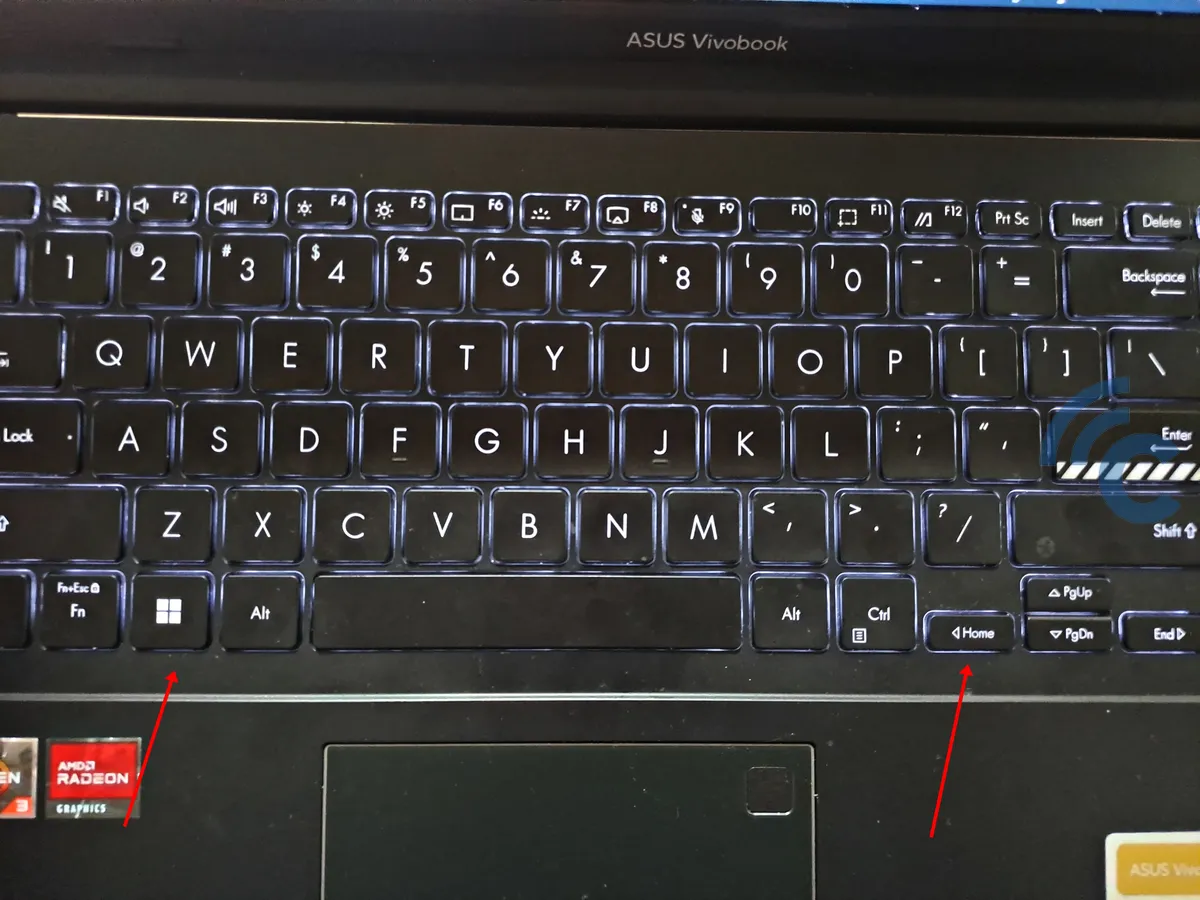
- This action will automatically resize the application to cover half of the screen on the selected side.
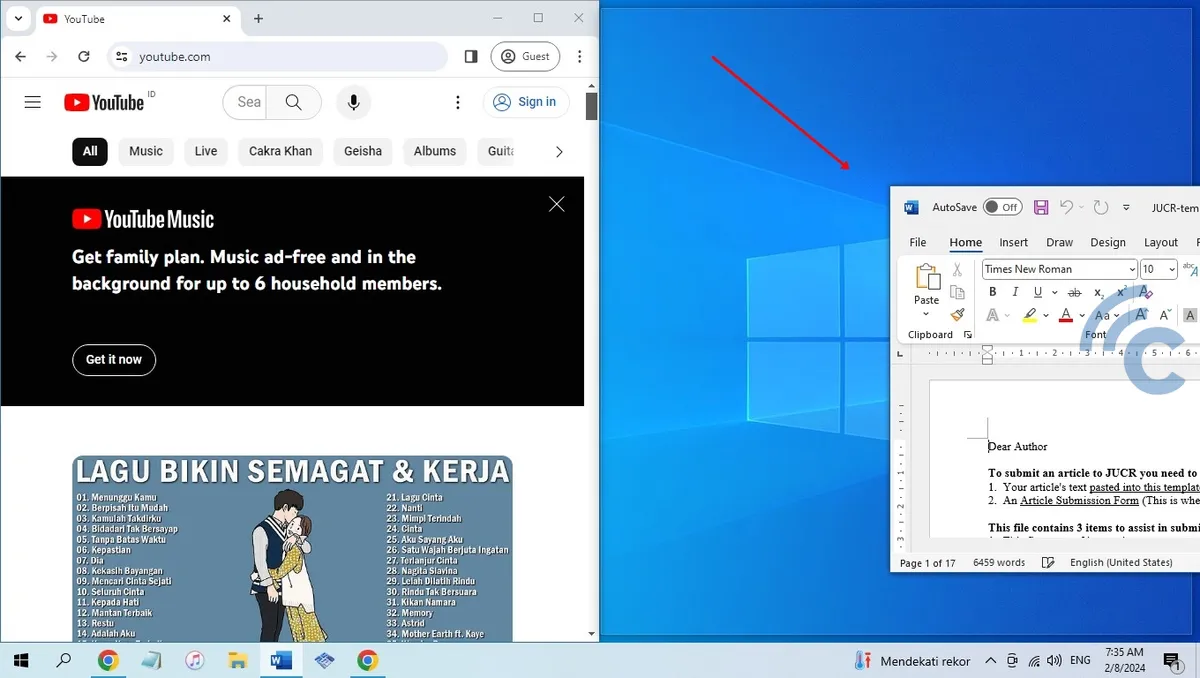
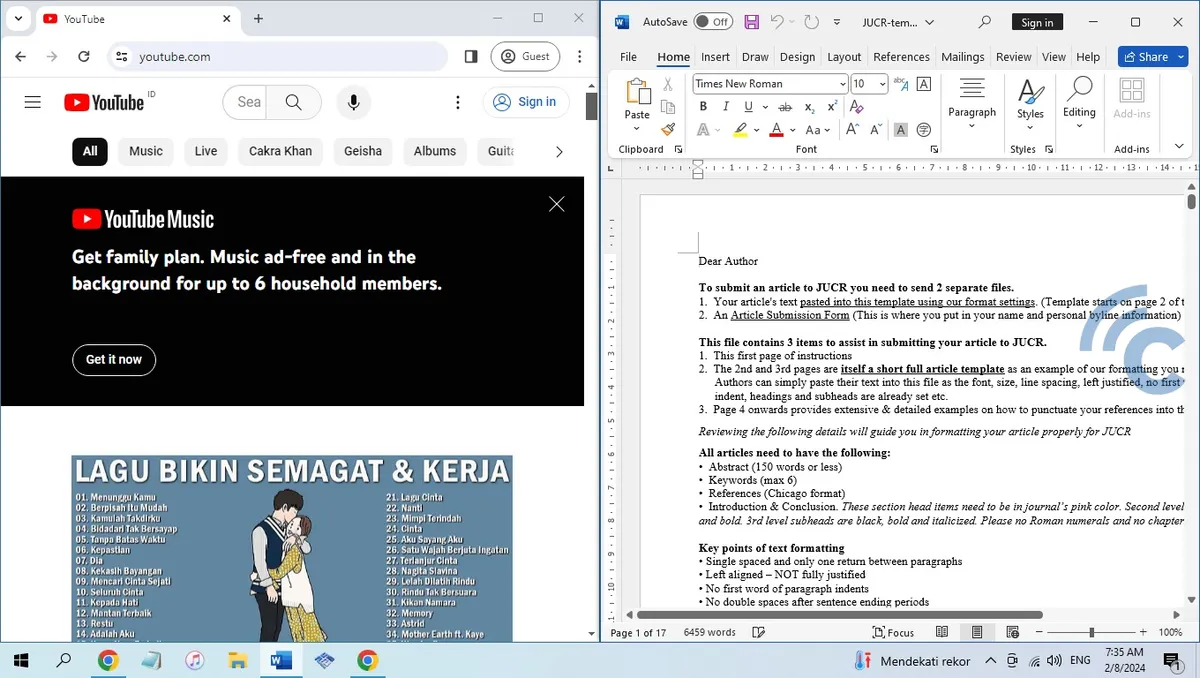
- Now, switch to the second application and repeat the process, pressing the Windows key along with the arrow key in the opposite direction.
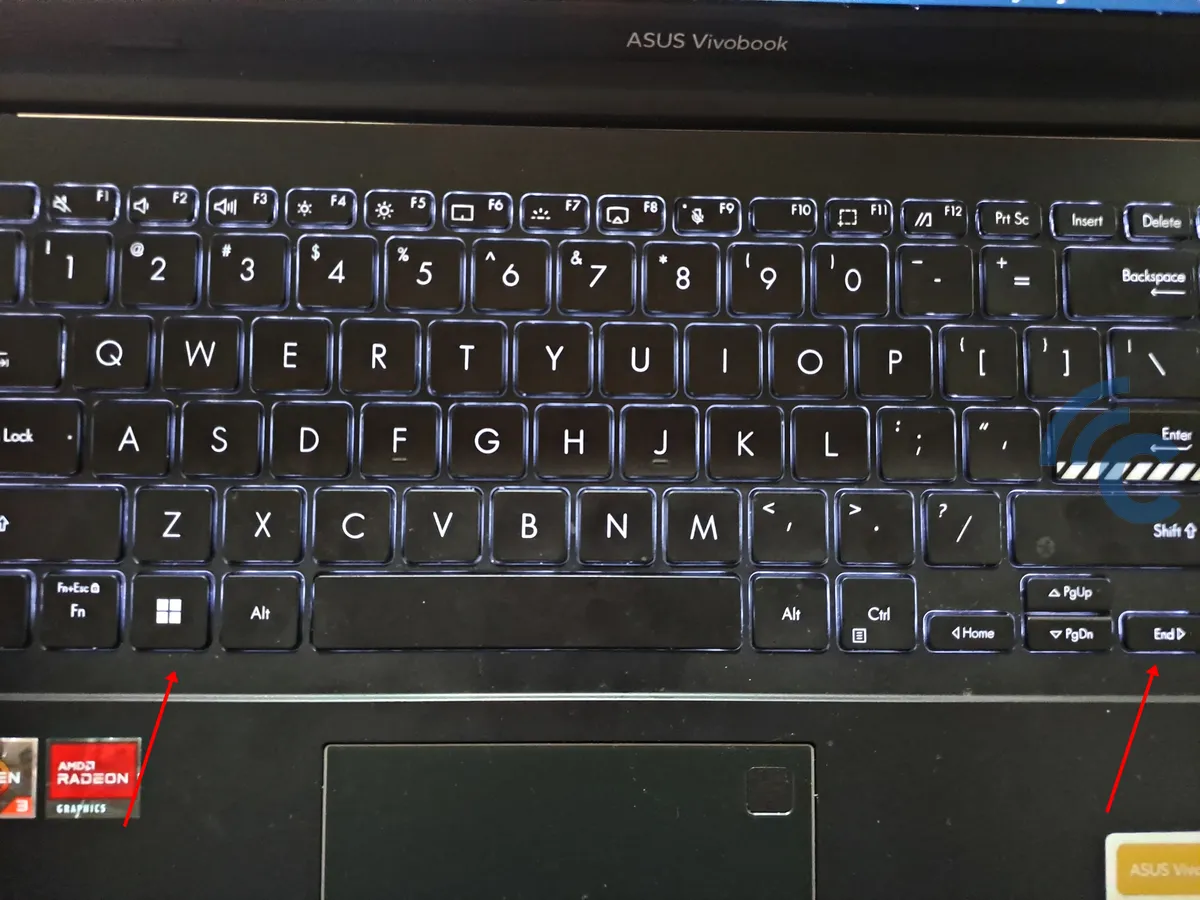
- If done correctly, the second application will occupy the remaining half of the screen.
Additionally, you can adjust the size of these app windows. Pressing the Windows key with the down arrow will minimize the window size. To revert it back to the previous size, simply press the Windows key and the up arrow.
Windows 11
If you're using a Windows 11 laptop, splitting your screen is made easy with the Snap Windows feature. This functionality offers several options for displaying two or more applications on a single screen, enhancing your multitasking capabilities.
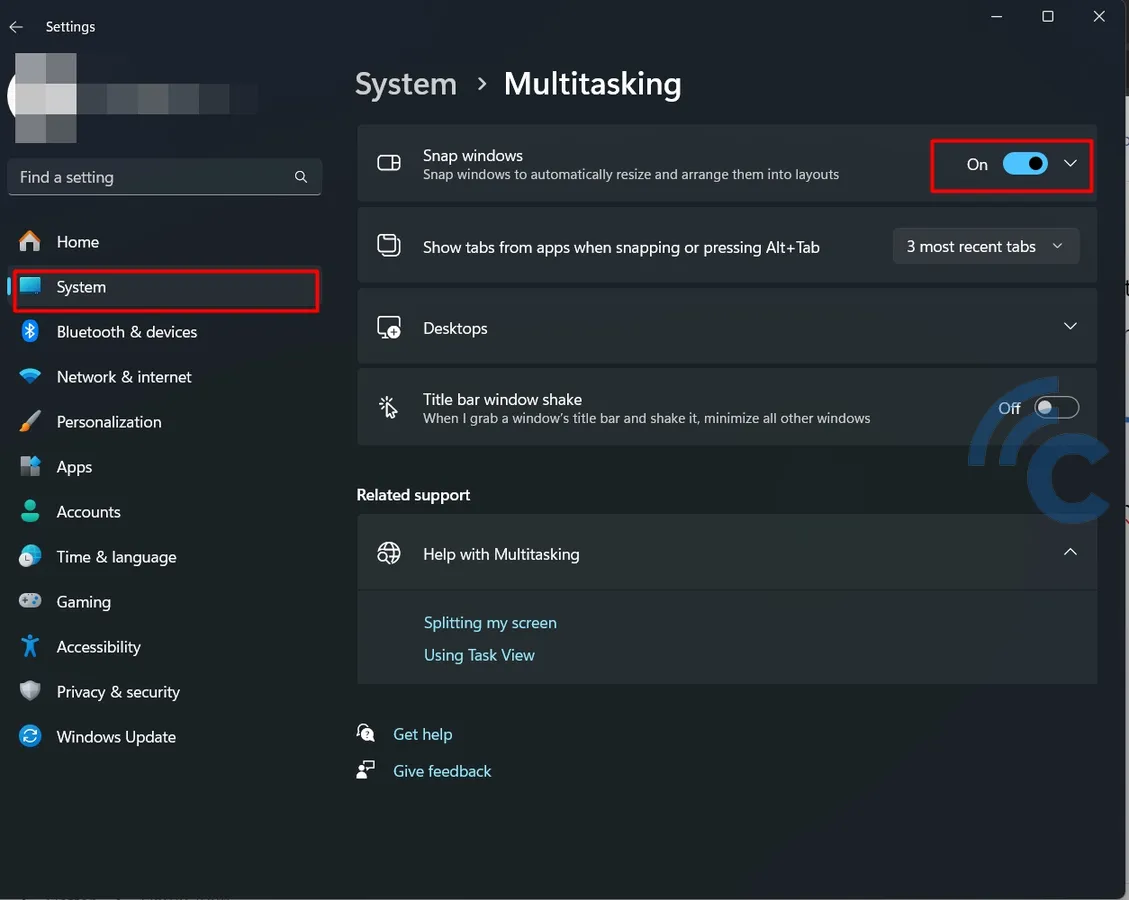
To enable this feature, navigate to Settings > System > Multitasking and activate Snap Windows. Once activated, you can immediately start using it to divide your screen. Here's a clearer breakdown of the steps:
- Begin by opening the application you intend to use.
- Hover your cursor over the maximize button, situated between the minimize and close buttons.
- A Snap Layout menu will appear beneath the maximize button.
- Choose your preferred layout, whether it be for two, three, or four windows.
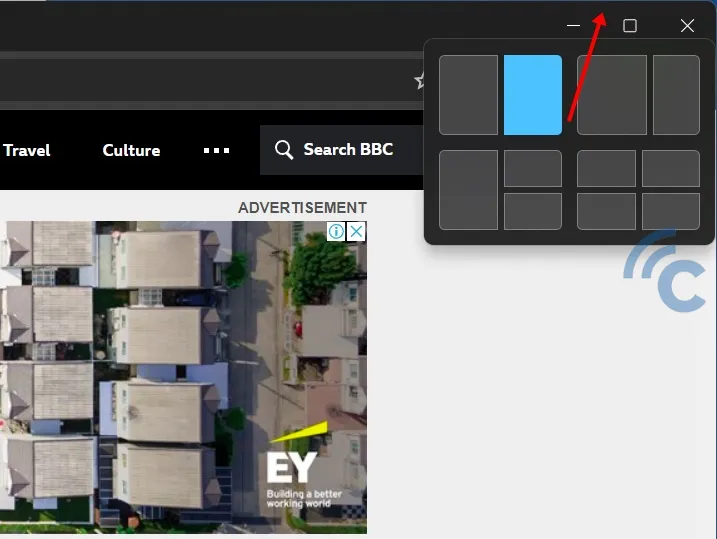
- The application will then automatically shift to the selected section of the screen.
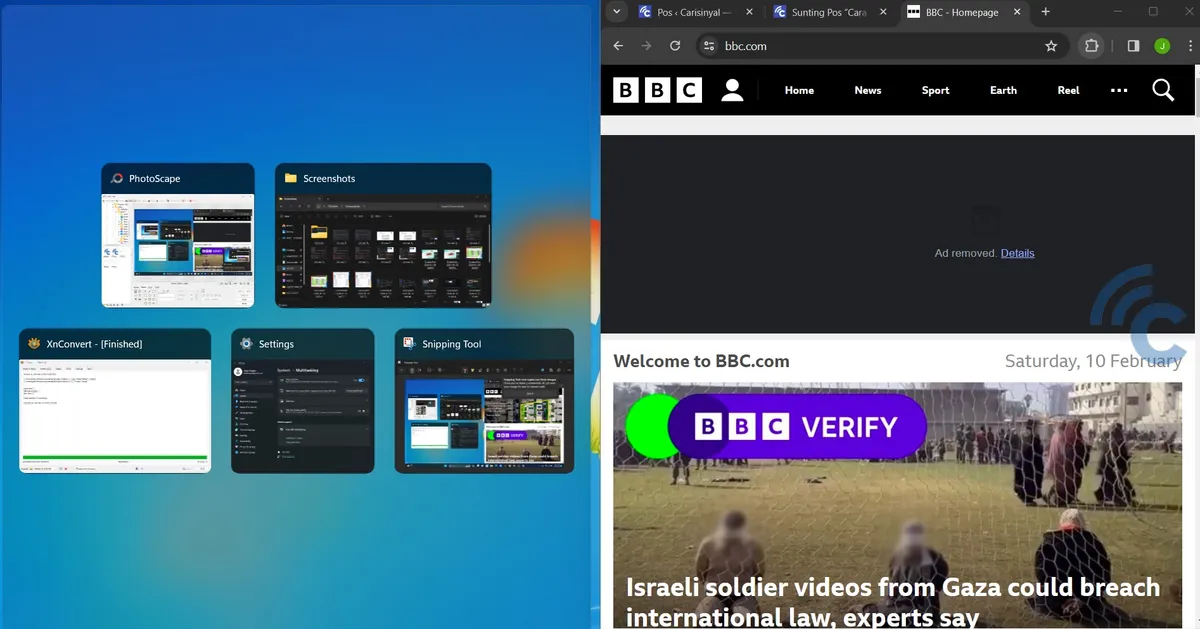
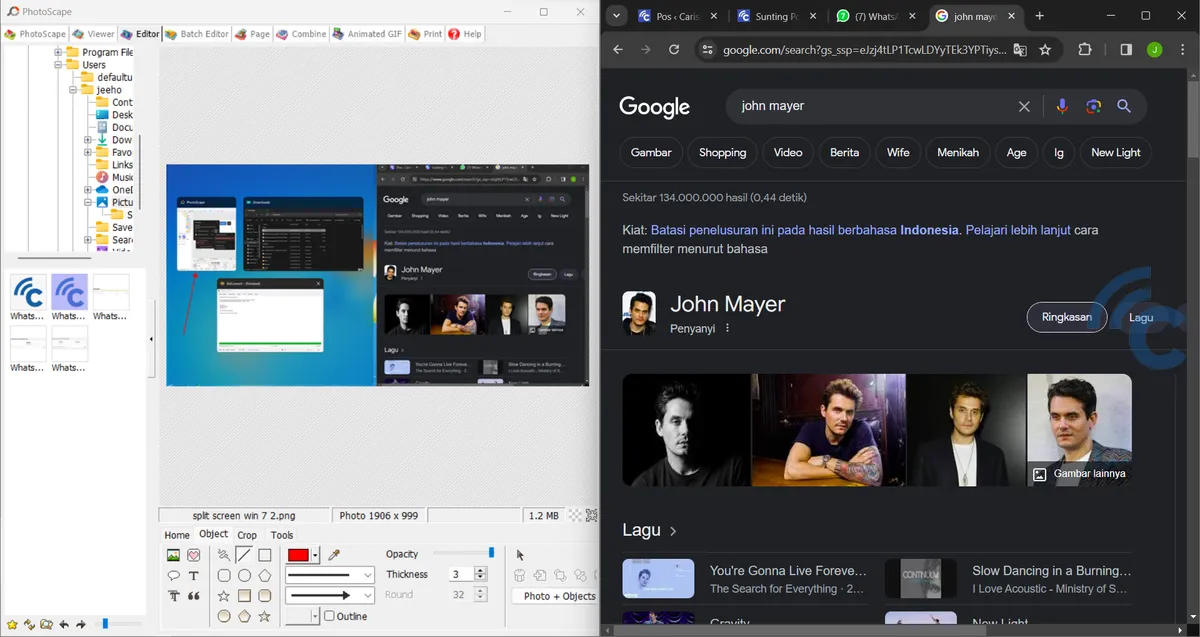
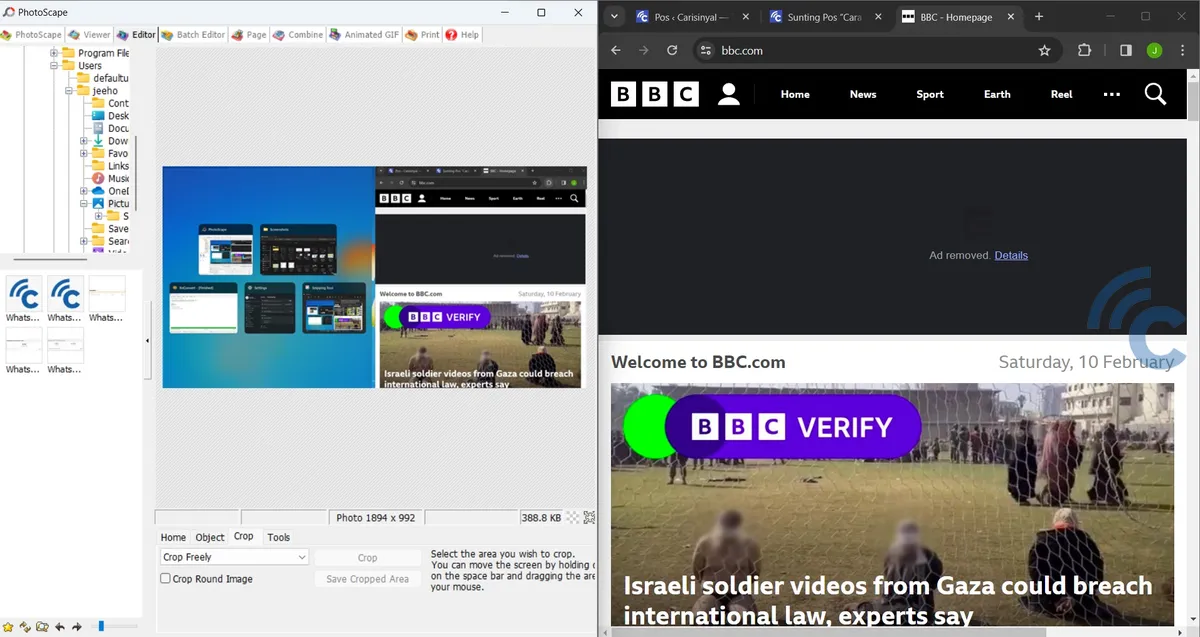
- Next, pick another application to occupy the remaining screen space. For instance, you might choose PhotoScape.
Additionally, Windows 11 users can still utilize the same methods available in Windows 10, like using the cursor or keyboard shortcuts, for quicker and more efficient screen splitting.
These methods offer a convenient way to divide your laptop screen into two or more sections, applicable for Windows 7, 10, or 11 operating systems. With these features at your disposal, you can boost your productivity and complete tasks more swiftly. That concludes our discussion for now, and best of luck with your multitasking endeavors.