
How to Set Laptop's Clock Automatically and Manually
Setting the correct time on your laptop is important. It helps with scheduling tasks, syncing data, and getting reminders. Windows lets you set the time either automatically or by hand.
If you have a new laptop or need to change the time on your current one, Carisinyal provides a guide for setting your laptop's clock automatically and manually. Find the full guide here.
Setting the Time Automatically
For those using a Windows laptop, setting the clock to update by itself is easy to do. Once set, you won't need to change the time again, even after updating your operating system.
Here's how to set your laptop's clock to update automatically:
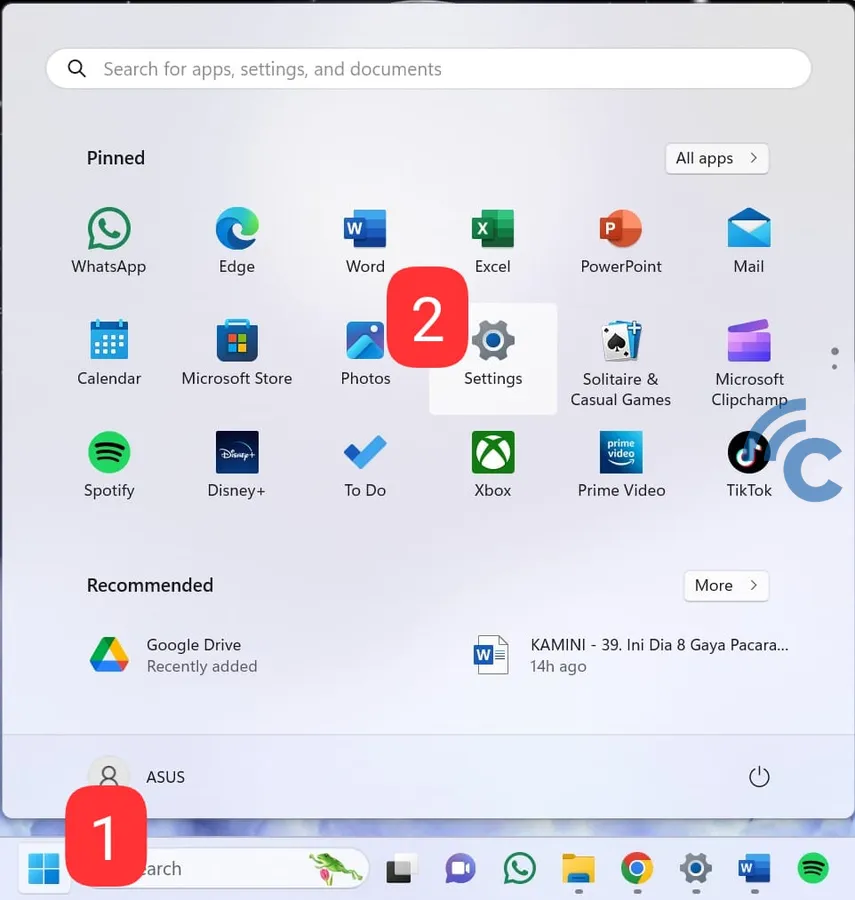
- Go to Settings: Click the Start icon, then choose "Settings" or press Windows + I.
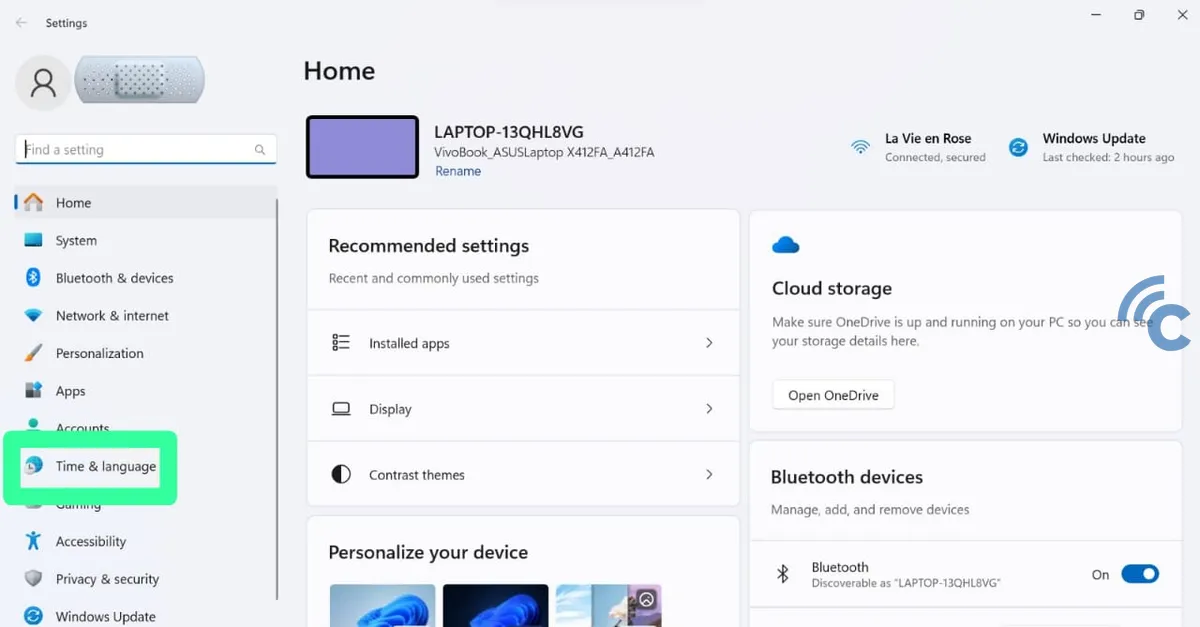
- Select Time & Language: In the settings menu, pick "Time & Language".

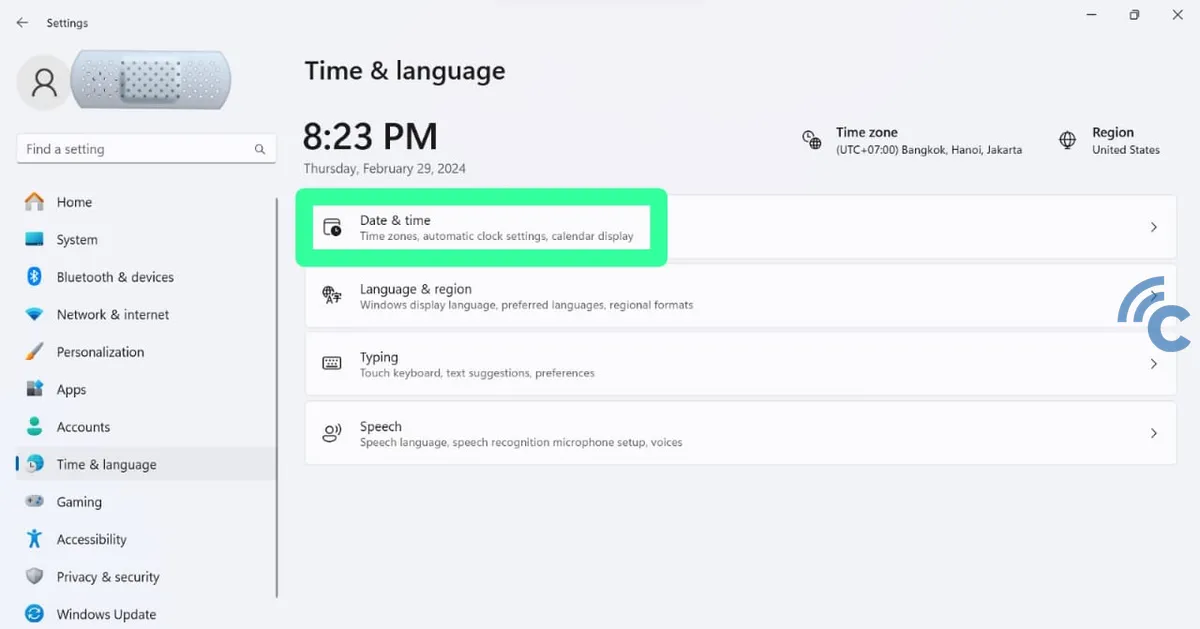
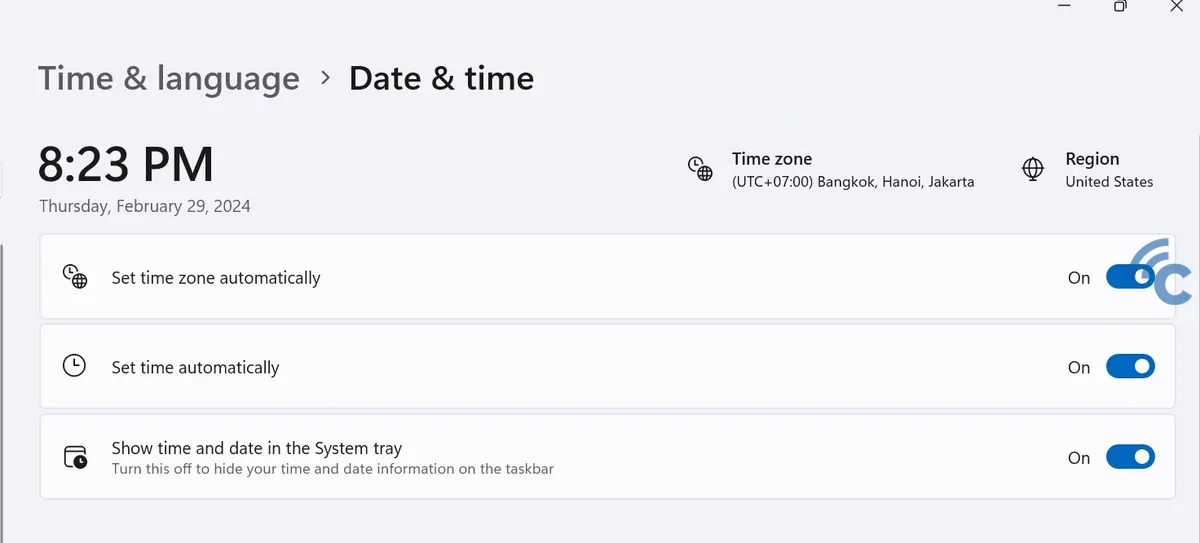
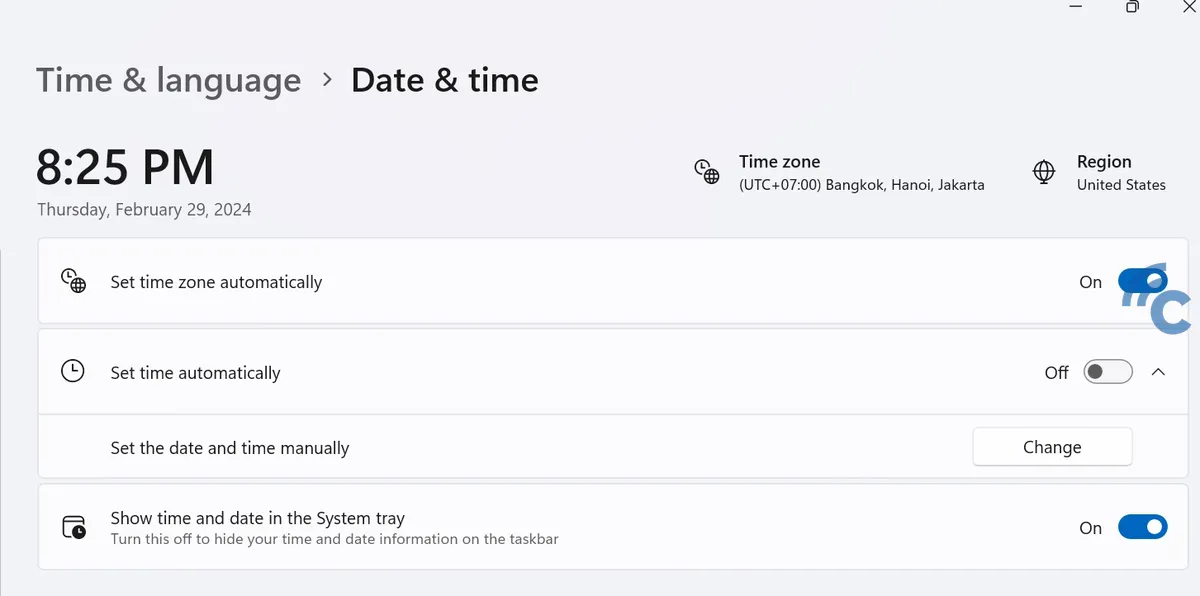
- Turn on Auto Set: In the "Date & Time" section, switch on the "Set time automatically" option.
- Also, enable "Set time zone automatically" for the clock to adjust to your time zone by itself.
Setting the Time Manually
Sometimes, Windows might not show the correct time when set automatically. If you need to set the time on your laptop by hand, here's how:
- Get to Time Settings: Click the Start icon, then choose "Settings" or press Windows + I.
- Turn off Auto Set: Disable "Set time automatically" by moving the toggle to the left.
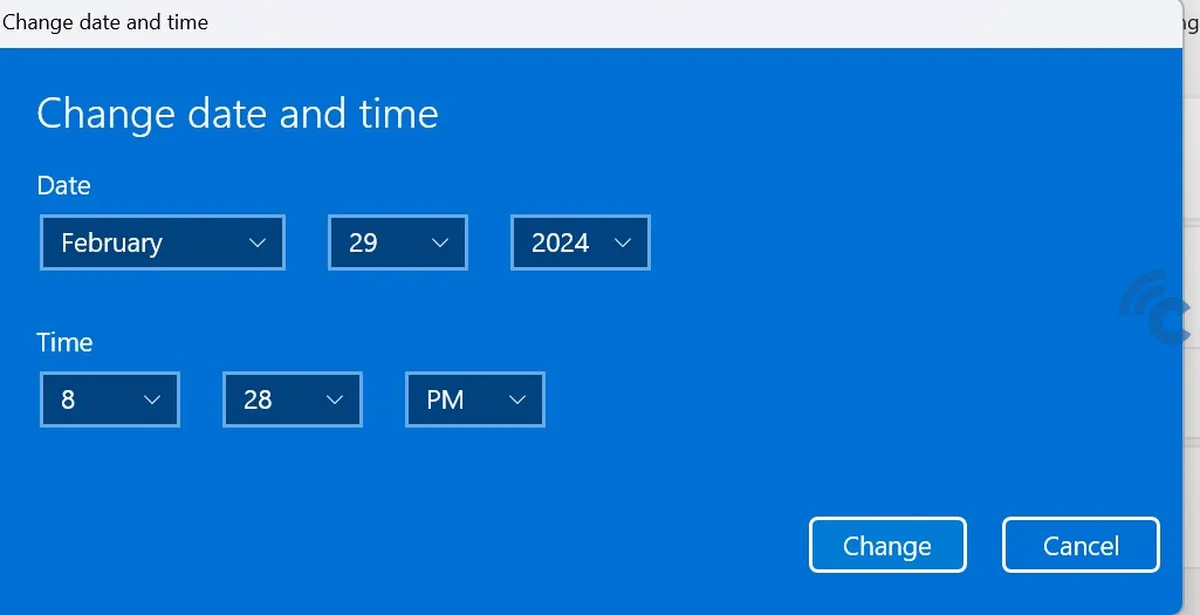
- Set Time Manually: Click "Change" under "Set the date and time manually". Enter the time and date you want, then click "Change" to save it.
By following these steps, you can set the time on your laptop, whether automatically or manually, to make sure all your digital tasks happen on time.