
2 Ways to Take A Screenshot on Laptop & PC
Previously, Carisinyal covered various applications for taking screenshots on laptops. This time, let's dive into the simplest tips and tricks for capturing screenshots on a PC. As a regular PC user, you often find yourself needing to quickly capture important images on your screen.
Taking and saving these images isn't just about using a 'save image' tool. There are several steps and methods available to take a screenshot on a PC.
Interestingly, each version of Windows offers different ways to capture your screen. Some methods involve using keyboard shortcuts, while others rely on specific applications with screenshot capabilities. Curious to learn more? Keep reading to discover all these methods, right until the end of this article!
1. Using Keyboard Keys
There are several ways to capture a screenshot on a PC using keyboard shortcuts. Different operating systems and laptop models may have unique commands, but let's focus on the most common methods for Windows PCs.
PrtSC Key
To take a screenshot using the keyboard, start with these steps:
- Ensure your PC (desktop or laptop) is running the latest version of Windows 10.
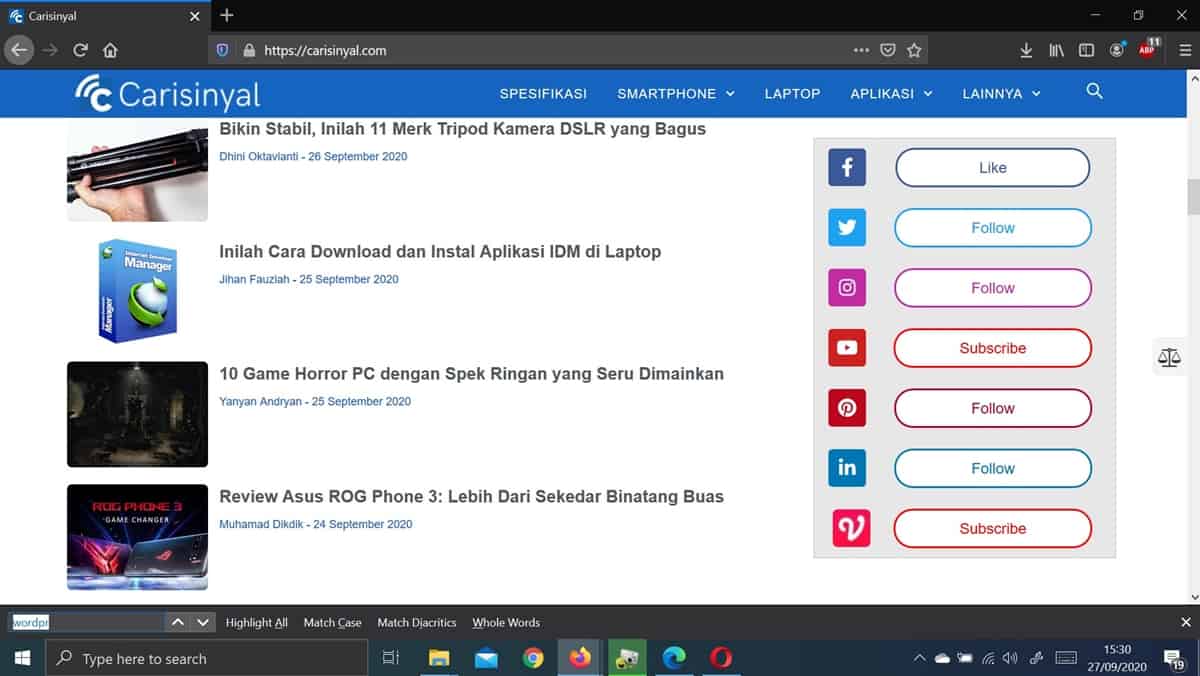
- Choose the screen you want to capture. For instance, Carisinyal web page.
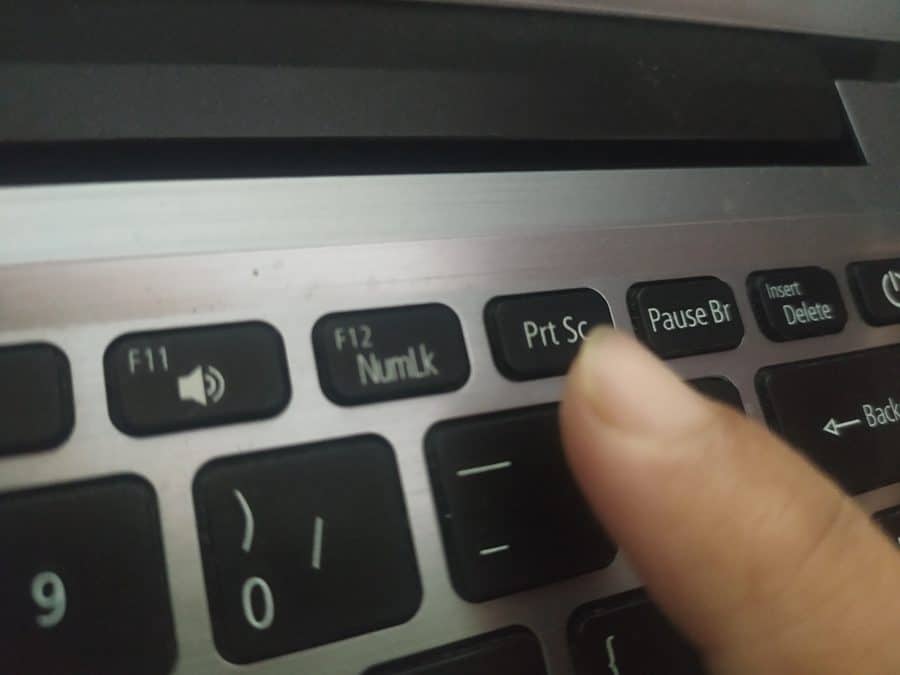
- Press the "PrtSc" (Print Screen) button, typically located in the top right corner of the keyboard.
- The screenshot will be automatically saved in the OneDrive folder.
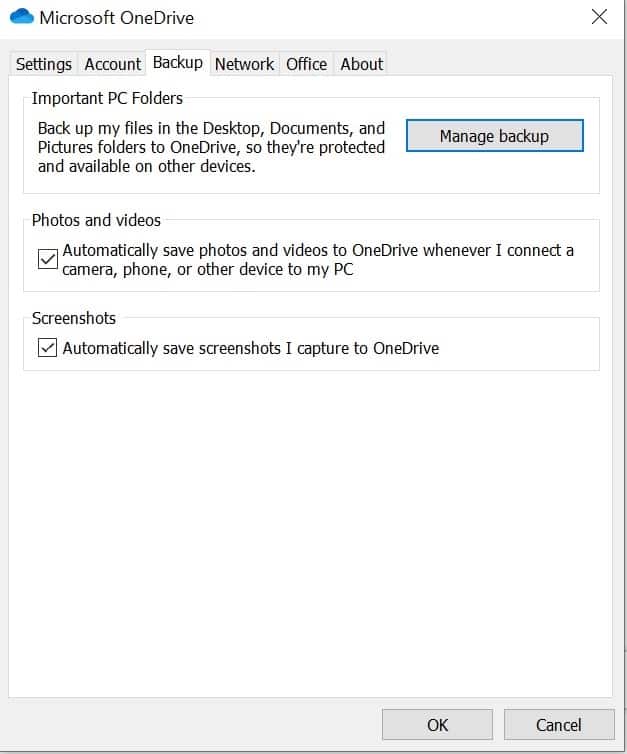
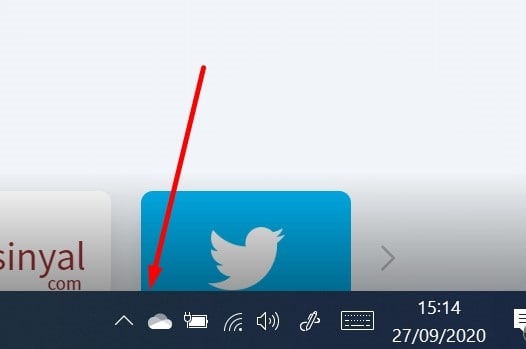
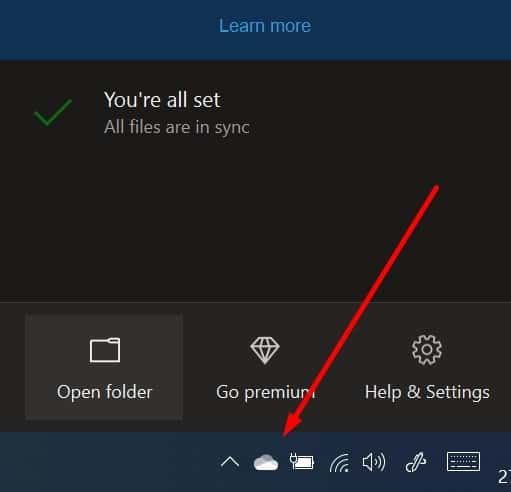
- To view your screenshot, find the OneDrive icon (a little cloud) in the system tray (bottom right of the screen), right-click it, and select "Open Folder".
The standard Print Screen feature captures everything on your screen.
Alt + PrtSc Keys
If you need to capture only the window you're currently using, without the rest of your screen, use the Alt + PrtSc keys together. This method captures just the active window, leaving out the background, making it an efficient choice for specific windows.
Alt + Fn + PrtSc Keys
On some computers, the Alt + PrtSc combination might not work. In this case, add the Fn key to the combination. Press Alt + Fn + PrtSc together as an alternate way to enable the screenshot function on PCs needing the Fn key.
Windows Key + PrtSc
Since the Windows XP era, the Windows + PrtSc key combination has been a convenient method for screenshots. This approach is still relevant in many newer Windows versions.
Using Windows + PrtSc keys automatically saves each screenshot in the C:Users[user name]/PicturesScreenshots folder, bypassing the need for additional saving apps.
To locate these screenshots, open the file explorer (Windows + E) and navigate to the Pictures folder in the left pane.
2. Using Snipping Tool
Windows includes a handy tool known as the Snipping Tool, which comes pre-installed on Windows 8 and later versions. This tool is designed to let you capture specific areas of your screen, offering more flexibility than capturing the entire screen.
Here's how to use the Snipping Tool:
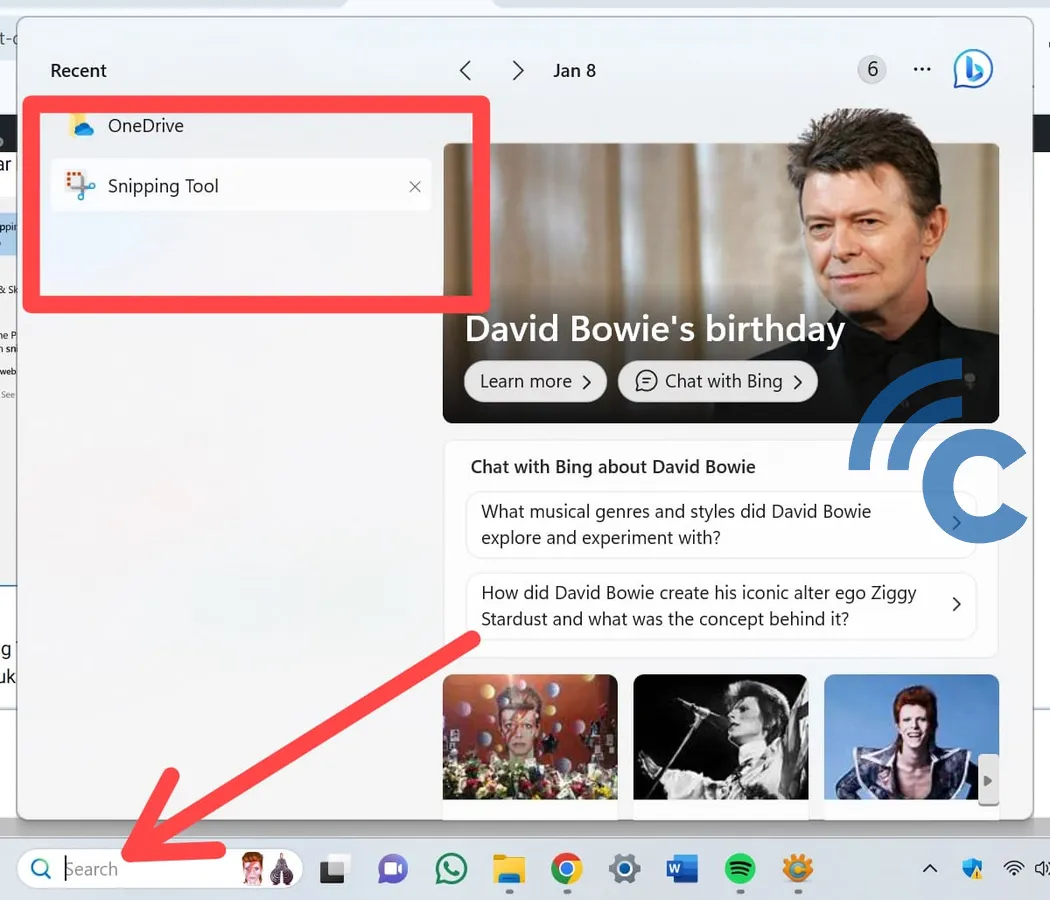
- First, open the Snipping Tool application. You can find it by typing "snipping tool" in the search box on the taskbar.
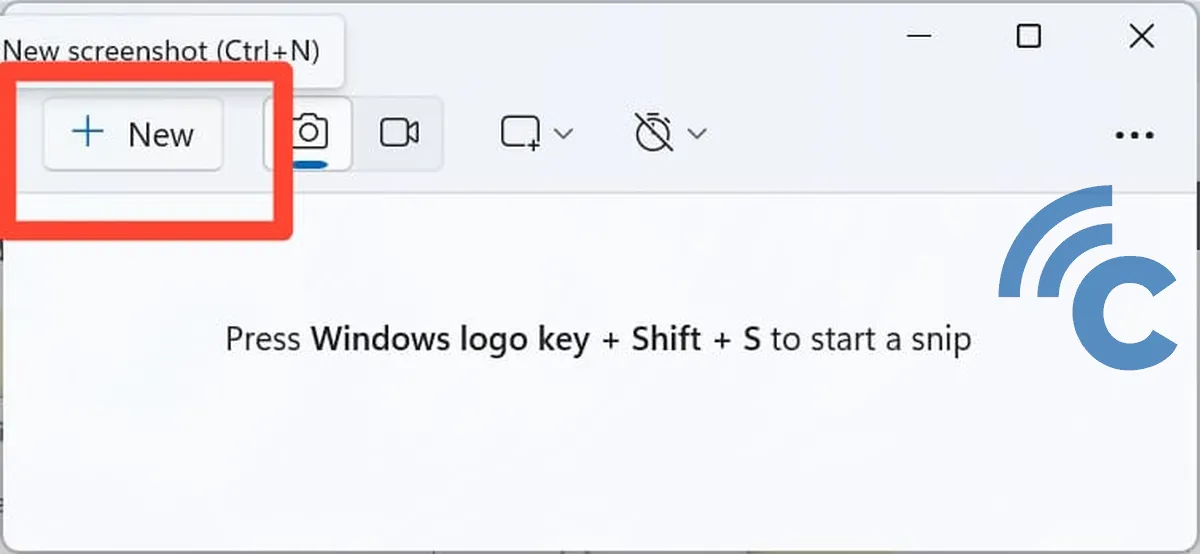
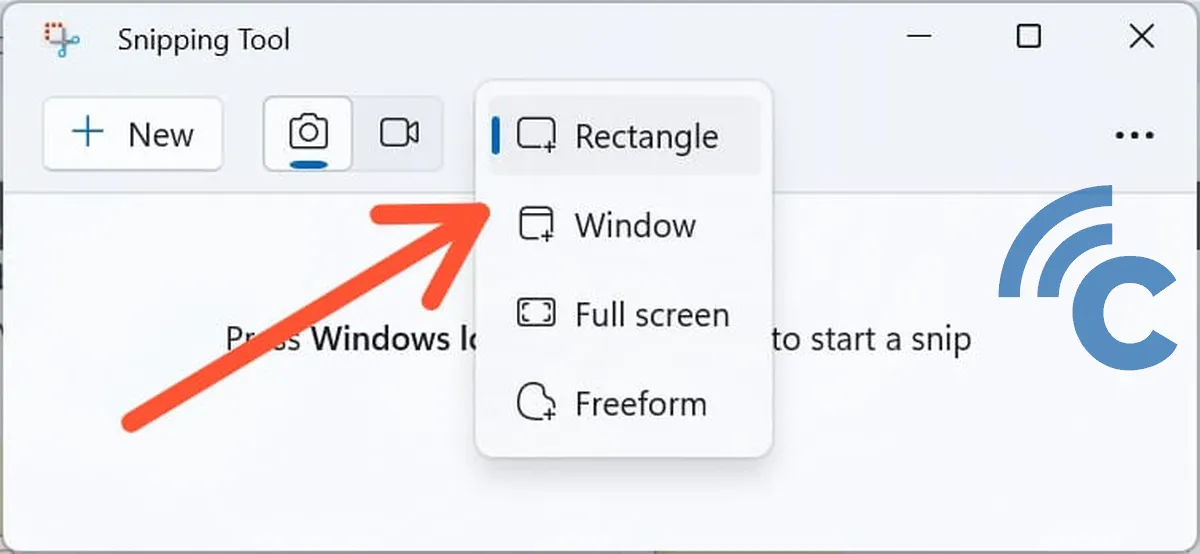
- Once the Snipping Tool is open, click on 'New' to start taking a screenshot.
- You have the option to choose the type of screenshot you want. This includes various modes like Free-form Snip that captures in any shape you draw, Rectangular Snip to capture in a rectangular or square shape, Window Snip to capture only the active window, and Full-screen Snip to capture the entire screen.
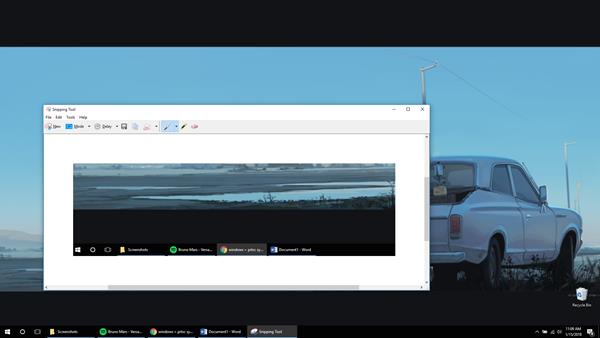
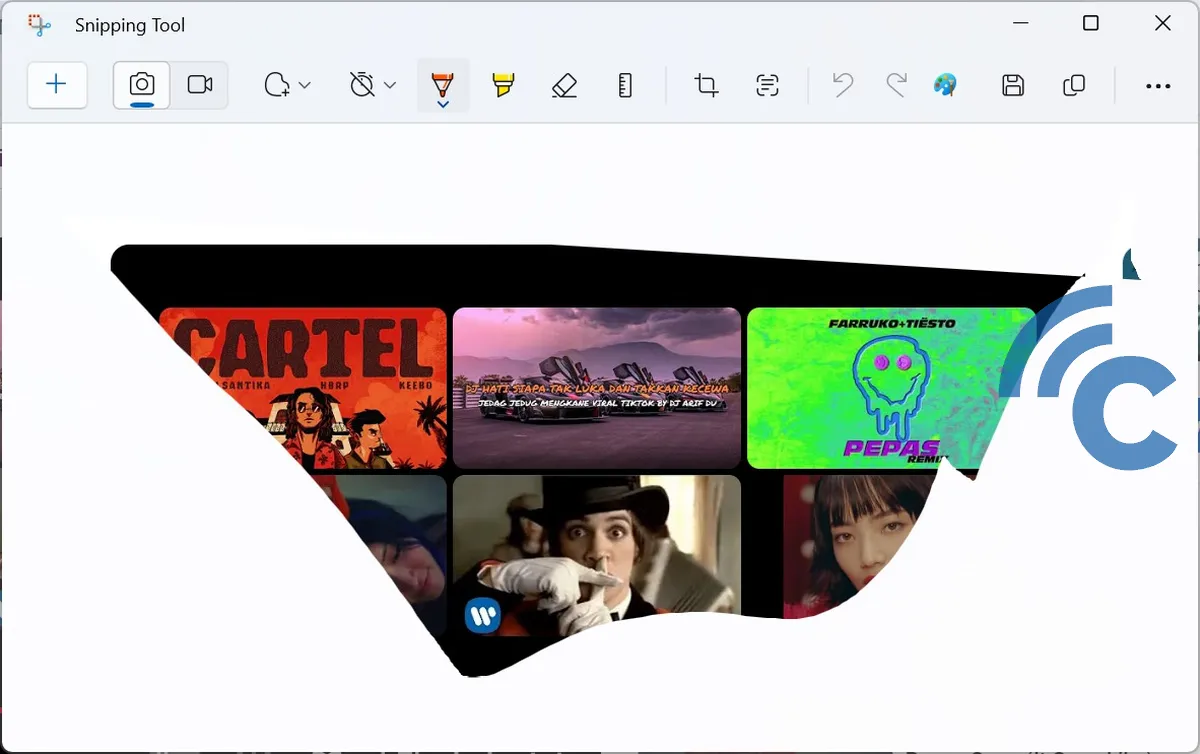
- For example, the free-form snip mode lets you draw any shape for your screenshot, as shown in the accompanying image.
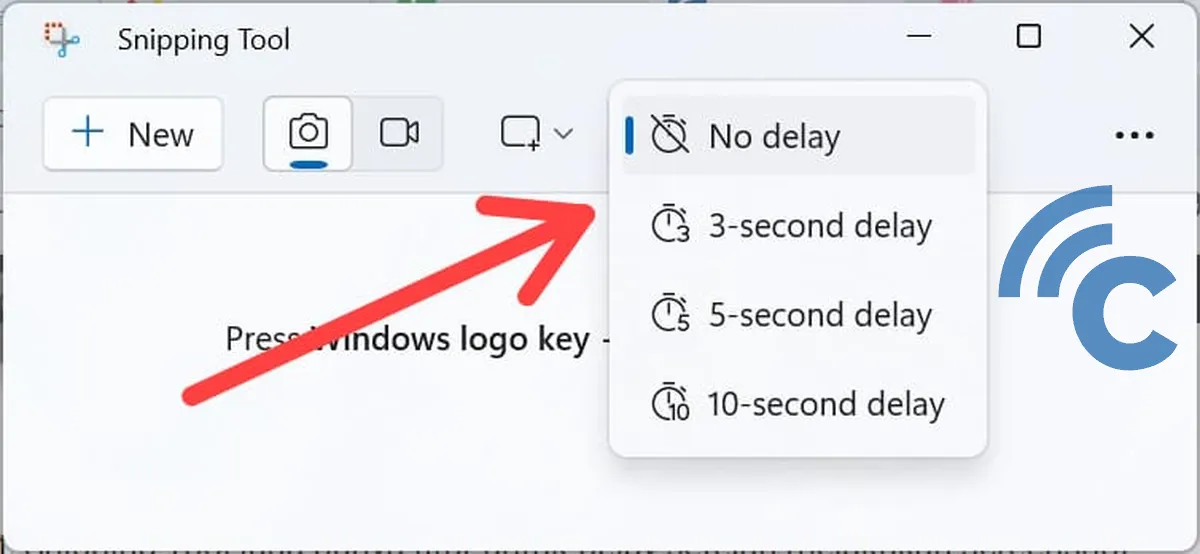
- Additionally, the Snipping Tool offers a delay feature. For instance, if you set a 3-second delay, the tool will wait for that duration before capturing the screenshot, giving you time to prepare the screen.
- Another useful feature of the Snipping Tool is its basic editing capability. After taking a screenshot, you can make simple edits to it. If you need more advanced editing, you can transfer the screenshot to the Paint application.
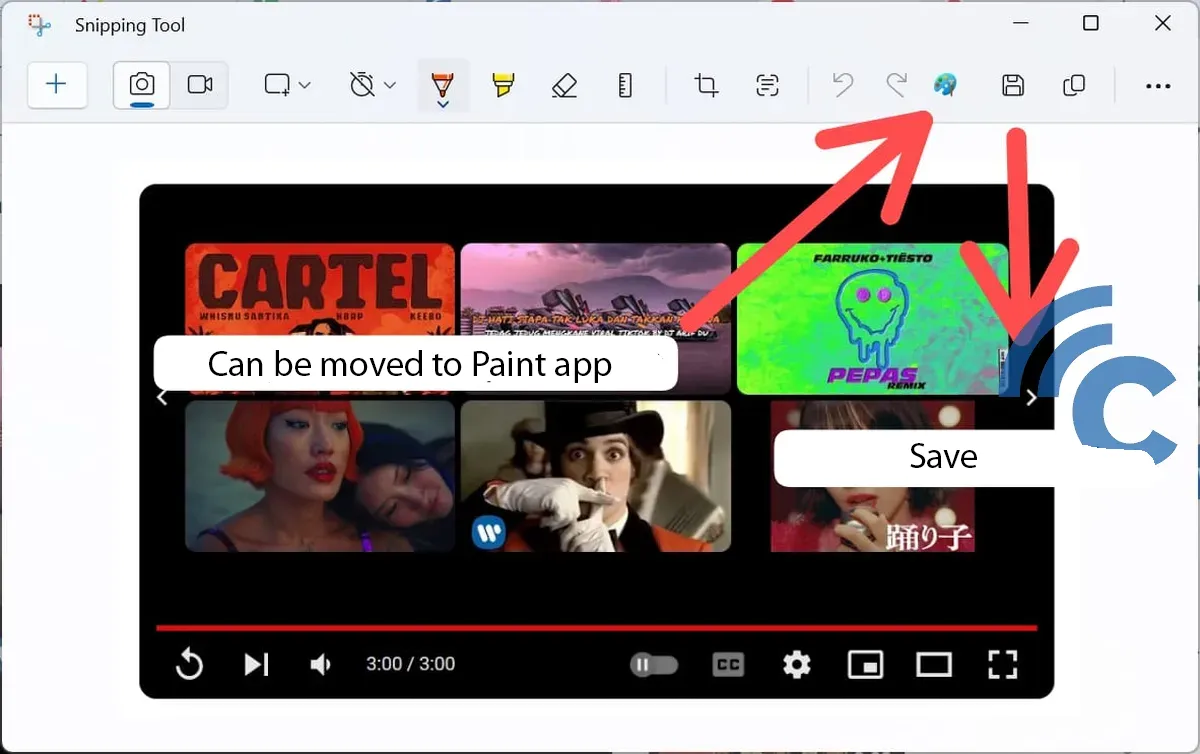

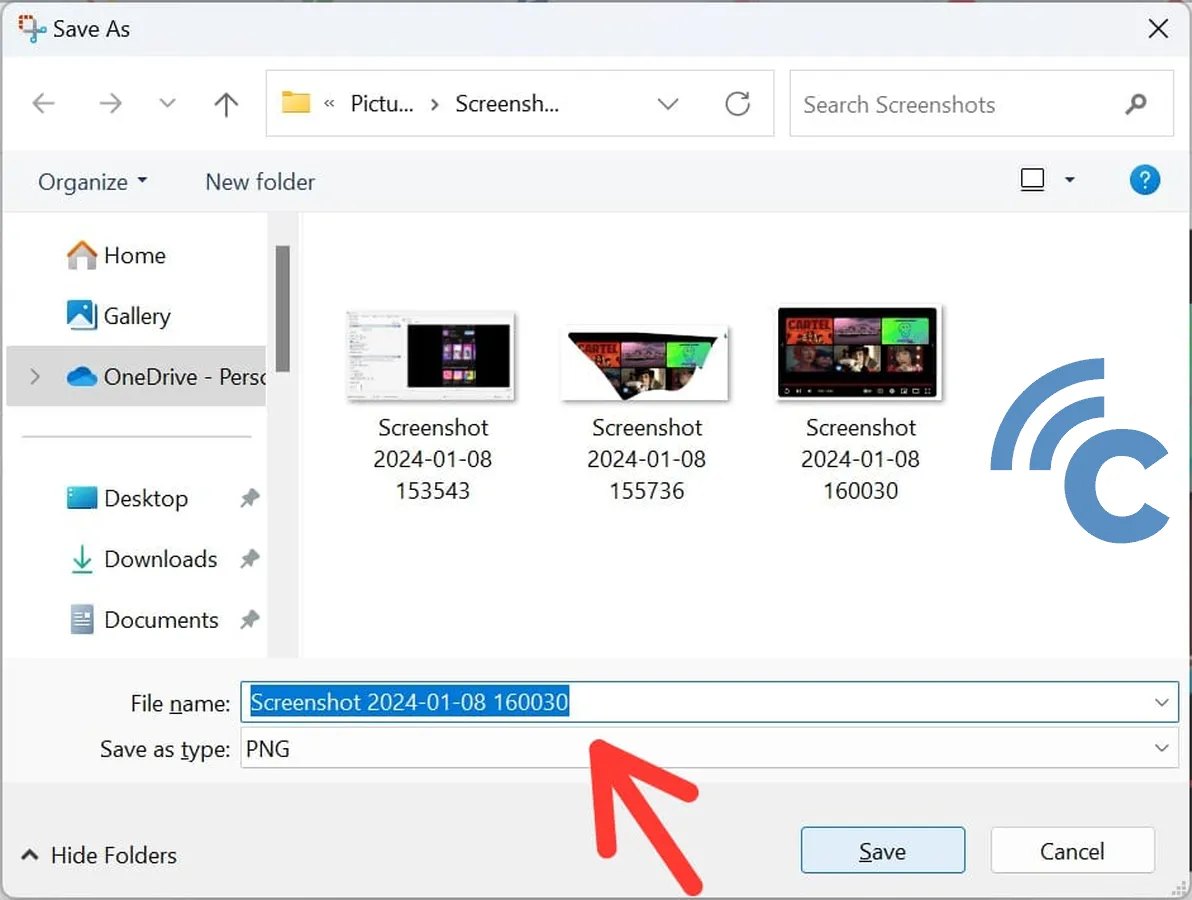
- Remember to save your screenshot once you're done editing. The Snipping Tool allows saving in various formats like PNG, JPEG, GIF, and MHT.
So, that's a straightforward way to take screenshots on a PC with easy method. Besides capturing and saving screenshots, you can also edit them. If you're interested in capturing an elongated area, check out the guide for taking long screenshots on a laptop. Feel free to share other methods in the comments!